
Why Continued Use Is the Real Risk
Continued use of the drive is the single biggest threat to recovery, and how much danger it poses depends on whether the drive is mechanical or solid-state. On a hard disk, a deleted file’s data stays on the platters as ordinary bits until something writes over that same physical location; there’s no fixed deadline, only additional writes create risk. Solid-state drives behave differently: the operating system sends a TRIM command marking blocks as free, and the SSD’s controller can electrically erase those blocks in the background within seconds to minutes, per a technical analysis of TRIM behavior published by Rossmann Group. Once that erase completes, no software, lab, or forensic method can bring the data back, since the erase resets the physical charge state of the memory cells.
There’s a wrinkle specific to external drives: many USB-to-SATA and USB-to-NVMe bridge chips inside external SSD enclosures don’t forward the TRIM command to the drive at all, so deleted data on an external SSD can survive far longer than the same SSD would inside a laptop, according to the same source. Which bridge chip your enclosure uses isn’t something most people can check quickly, so treat every SSD case with the same urgency as a mechanical drive until you know otherwise.
Match the Symptom to the Fix
The fastest path to your files starts with matching what you’re seeing to its actual cause before choosing any tool.
| Symptom | Likely cause | Recommended action |
|---|---|---|
| Files gone, drive shows correct free space | Accidental deletion or emptied Recycle Bin/Trash | Check Recycle Bin/Trash first, then run the OS recovery tool in Regular mode |
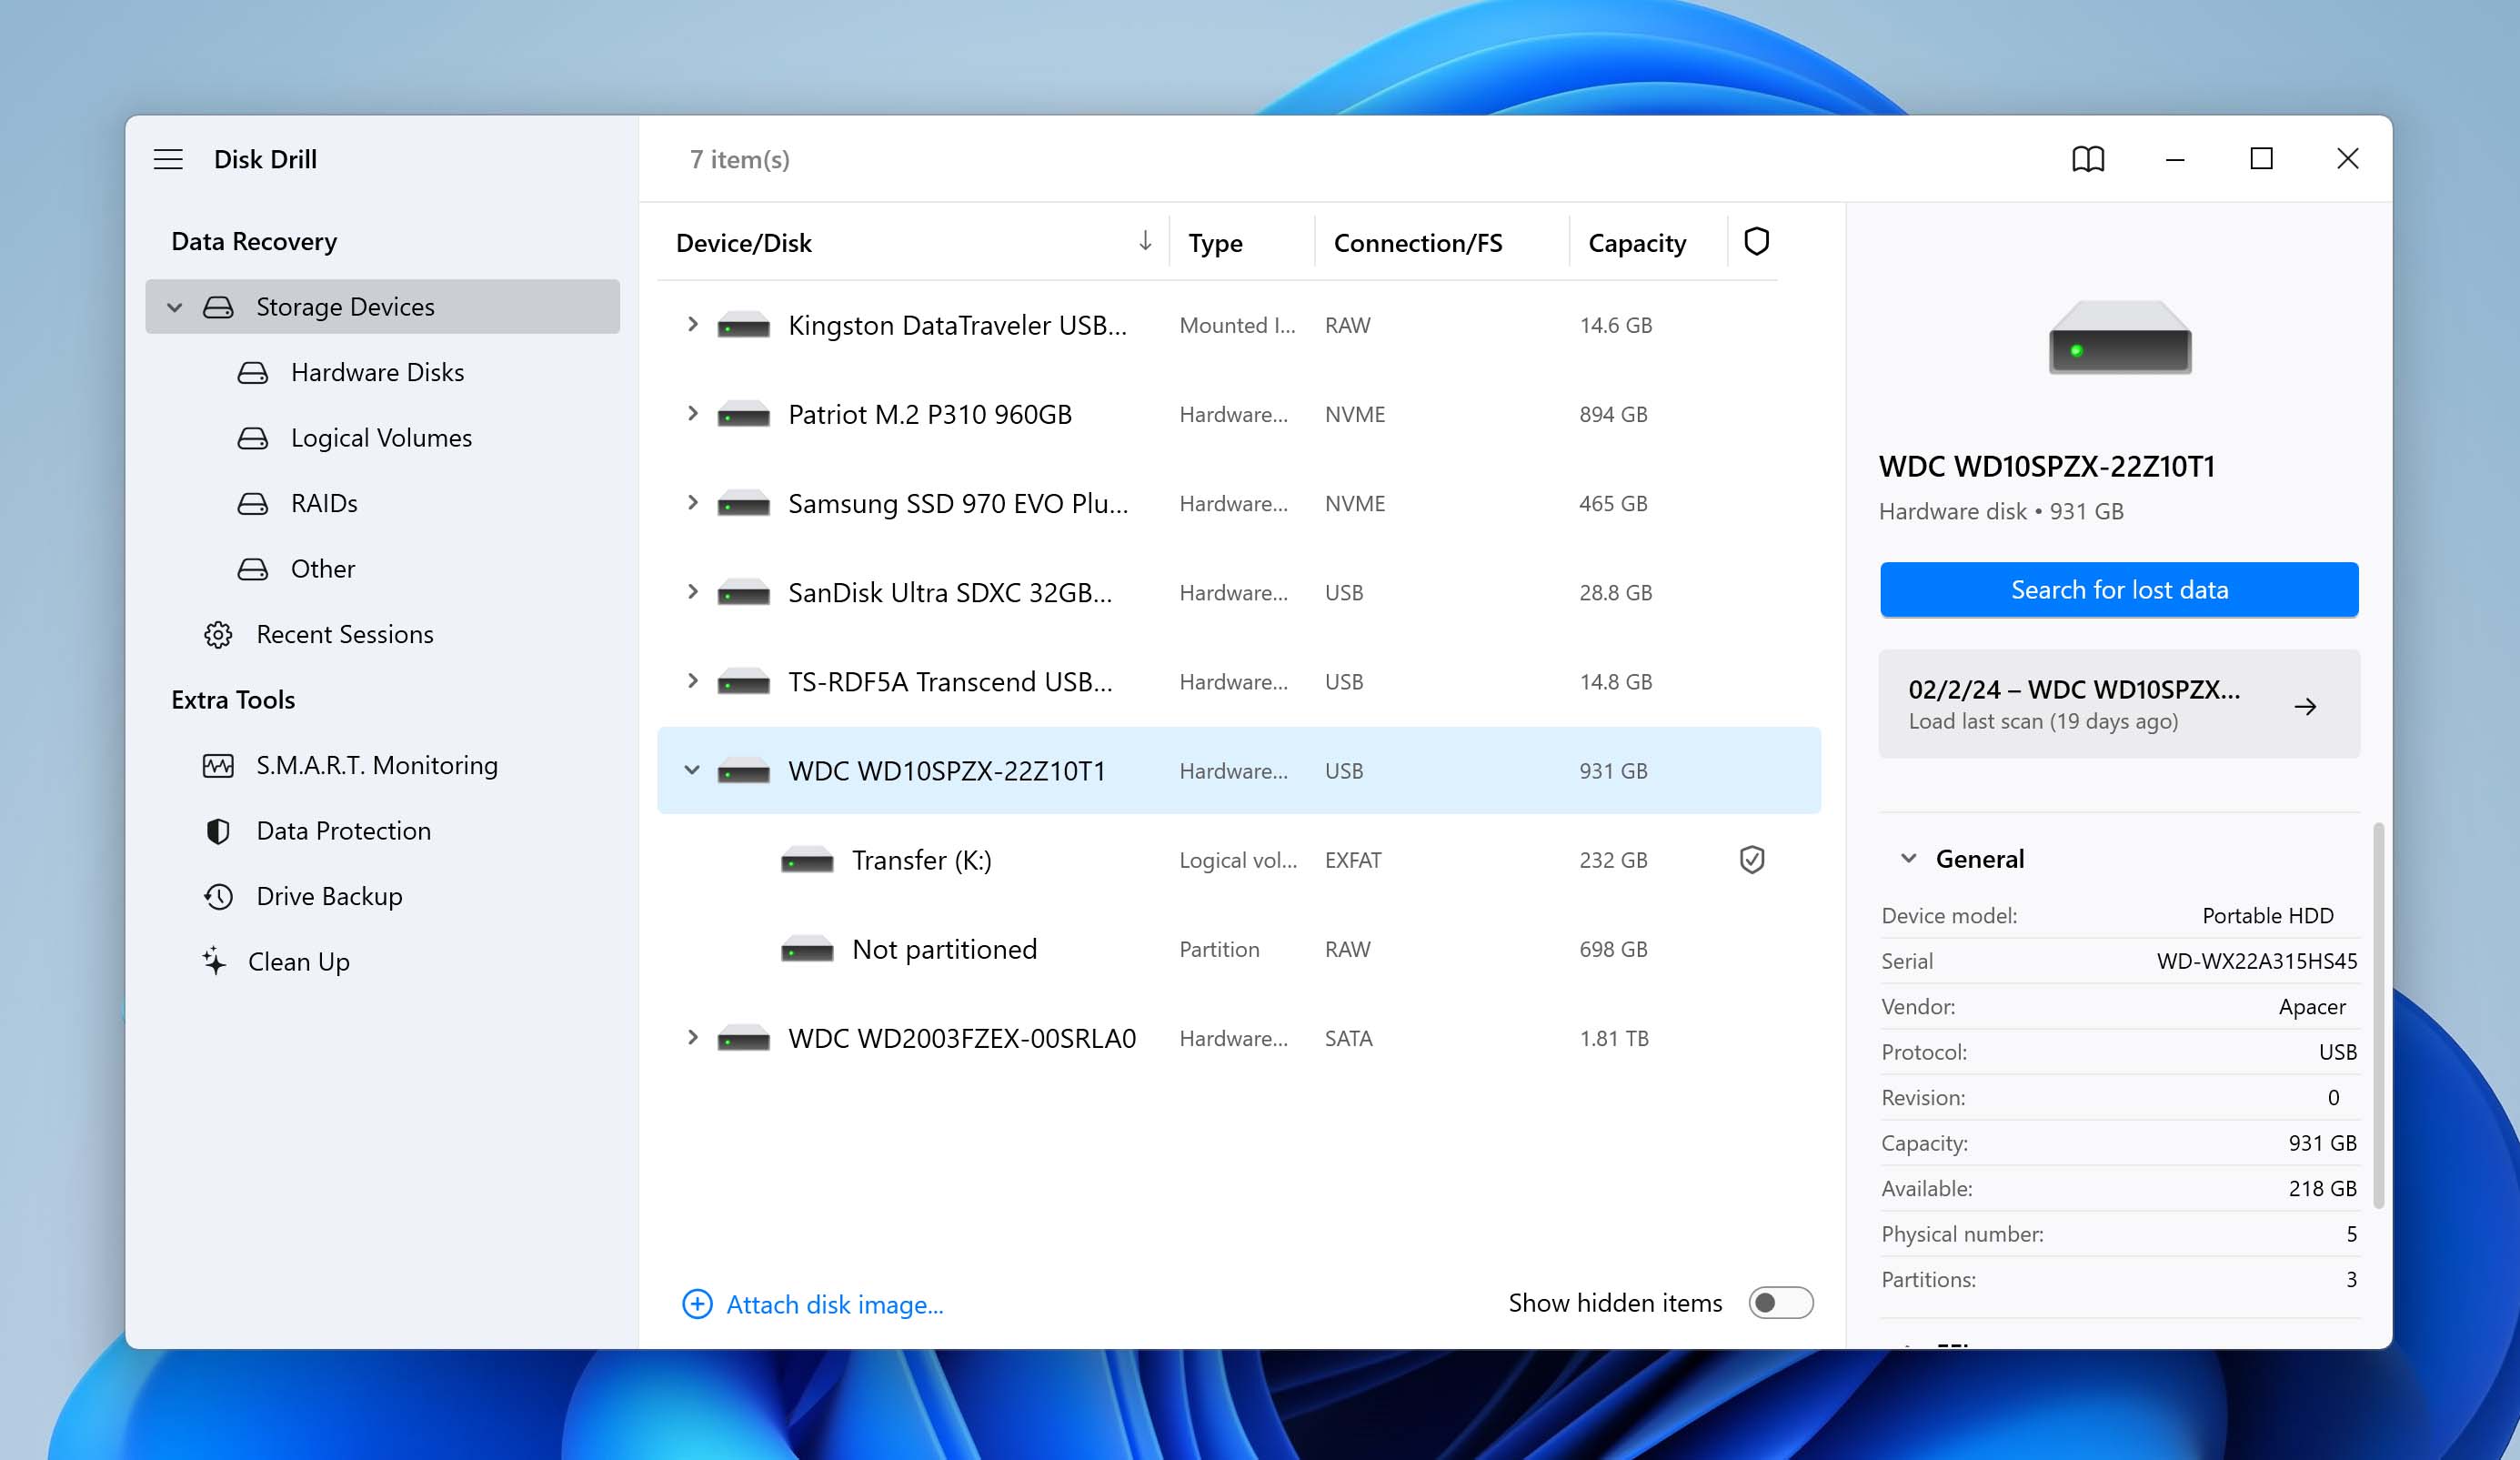
| Drive shows as “RAW” or prompts to format | File-system index damage, not necessarily physical failure | Don’t format; run recovery software or Extensive mode before touching the file system |
| Drive doesn’t appear in File Explorer/Finder at all | Cable, port, or driver issue, or a dead controller | Try a different cable, port, and computer; if still invisible, treat as possible physical failure |
| Files reappear but open corrupted or renamed | Recovered via Extensive/Signature mode, original metadata lost | Expect filename and folder loss in this mode; verify each file opens before trusting the recovery |
| Clicking, grinding, or repeated spin-up/spin-down | Mechanical failure (head or motor) | Power off; stop all DIY attempts; send to a professional lab |
| Drive asks for a password you don’t have, or shows gibberish in a new enclosure | Hardware or software encryption | DIY tools cannot bypass this; recovery needs the correct key or password |
A RAW or format prompt usually reflects file-system index damage, with the underlying data often still intact underneath it.
Check the Recycle Bin or Trash First
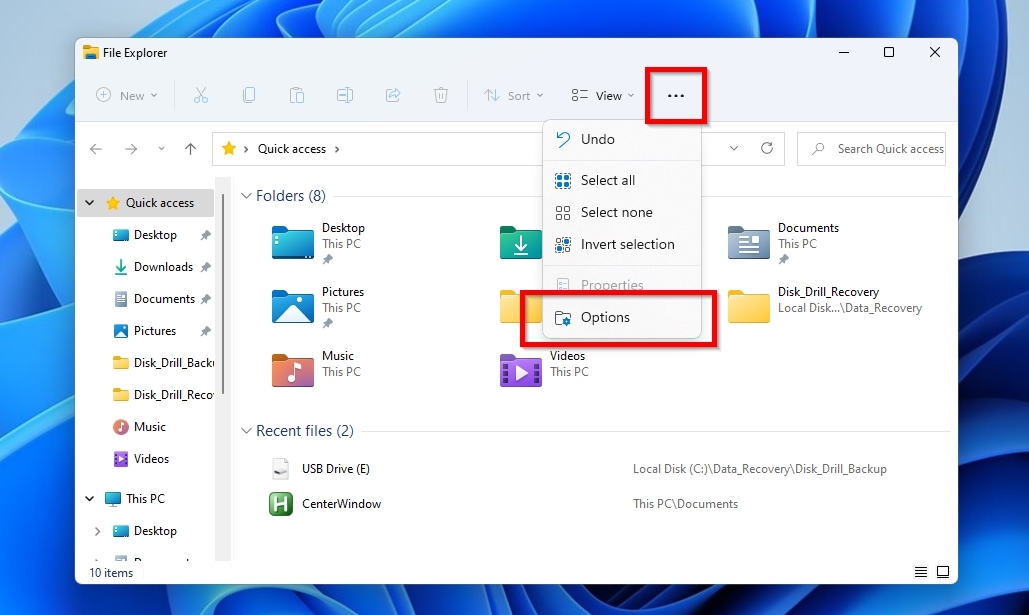
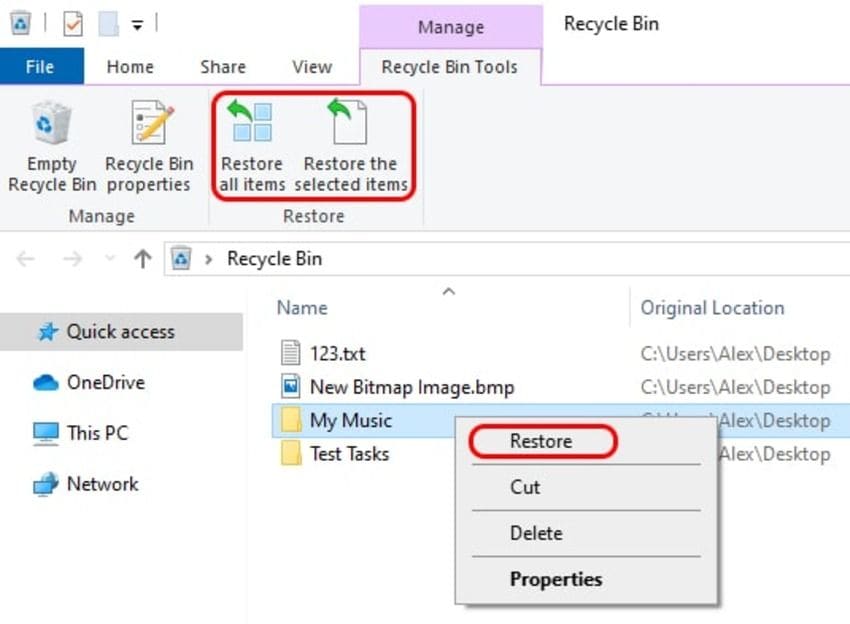
Before running any recovery tool, check the built-in undelete first: the Recycle Bin on Windows, or Trash on Mac. Files that were moved there rather than permanently erased are fully intact and restorable with a right-click. If the bin was already emptied, or the file was deleted in a way that skips it entirely (common with NAS-mapped drives and Linux systems), treat it as gone and move to the method below.
Run the Built-in Recovery Tool for Your File System
Windows File Recovery (winfr), Microsoft’s free command-line tool, recovers files from internal and external drives using two modes, Regular and Extensive, and which one works depends on the drive’s file system, per Microsoft’s documentation.
| File system | Typical external media | Recommended winfr mode |
|---|---|---|
| NTFS, deleted recently | External HDDs/SSDs over 4GB | Regular |
| NTFS, deleted a while ago, after formatting, or on a corrupted disk | Same | Extensive |
| FAT or exFAT | SD cards, flash/USB drives under 4GB, some external SSDs | Extensive only; Regular mode fails outright |
| APFS or HFS+ (Mac-formatted) | Mac external drives | winfr doesn’t apply; use Disk Utility’s First Aid or a Mac-compatible tool instead |
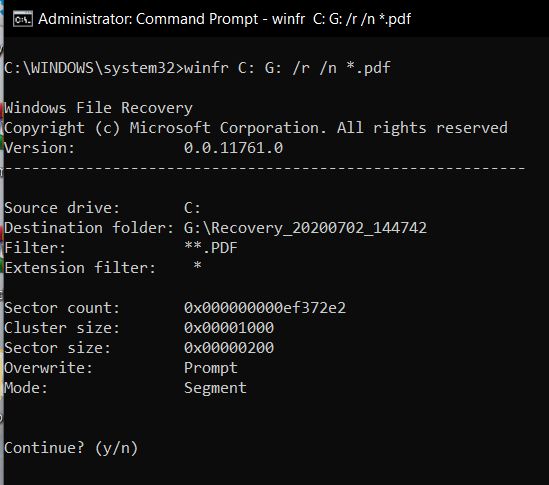
In practice, an NTFS external drive gets two attempts (Regular first, Extensive if that fails), while a FAT or exFAT card only works in Extensive mode from the start. A typical command looks like winfr E: D: /extensive /n \Users\<username>\Documents\, where the source and destination drives must always differ.
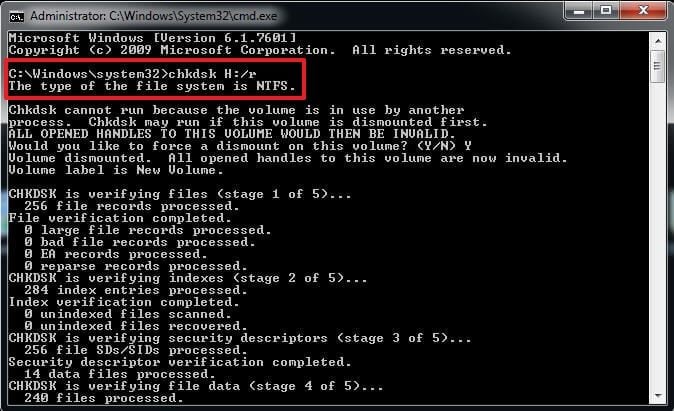
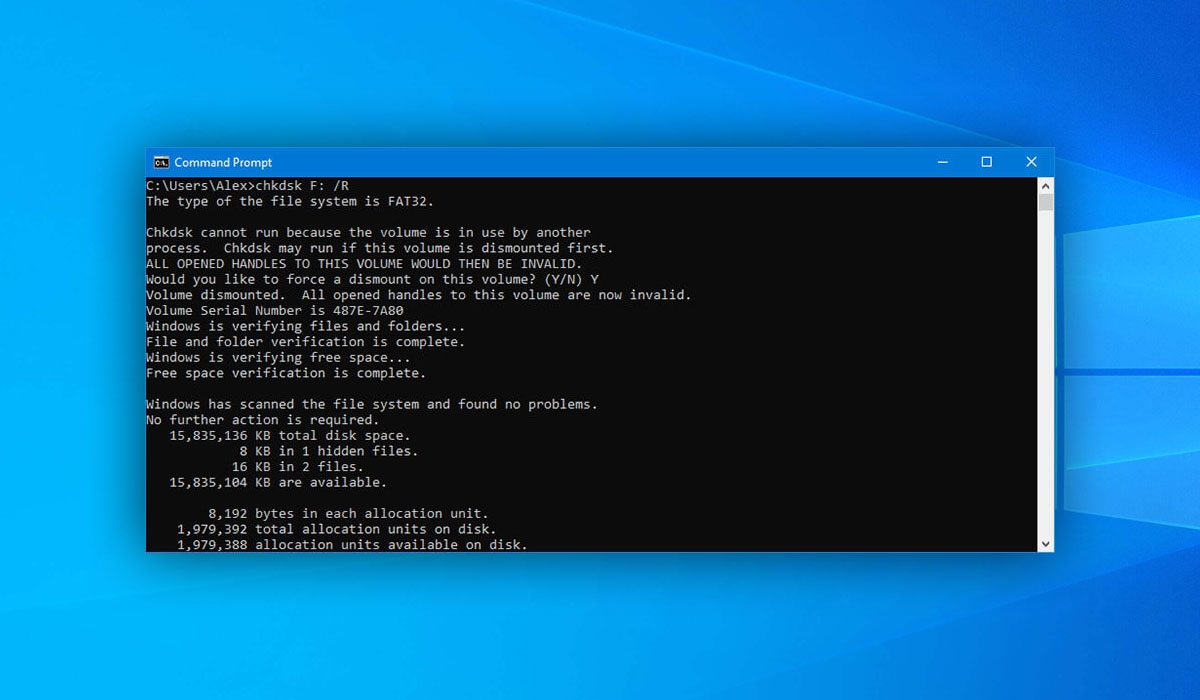
Does running CHKDSK count as data recovery?No. CHKDSK repairs file-system structures and can mark damaged sectors as unusable, which sometimes overwrites the same data a recovery tool would have found. Run recovery first; CHKDSK only after files are safely copied elsewhere.
When Generic Recovery Software Is Worth Using
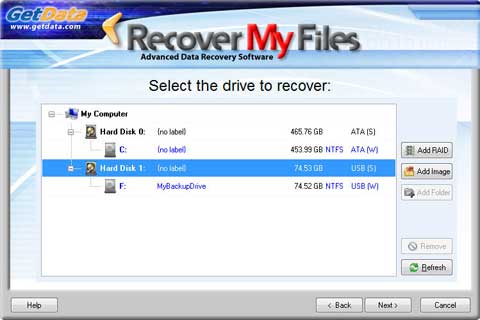
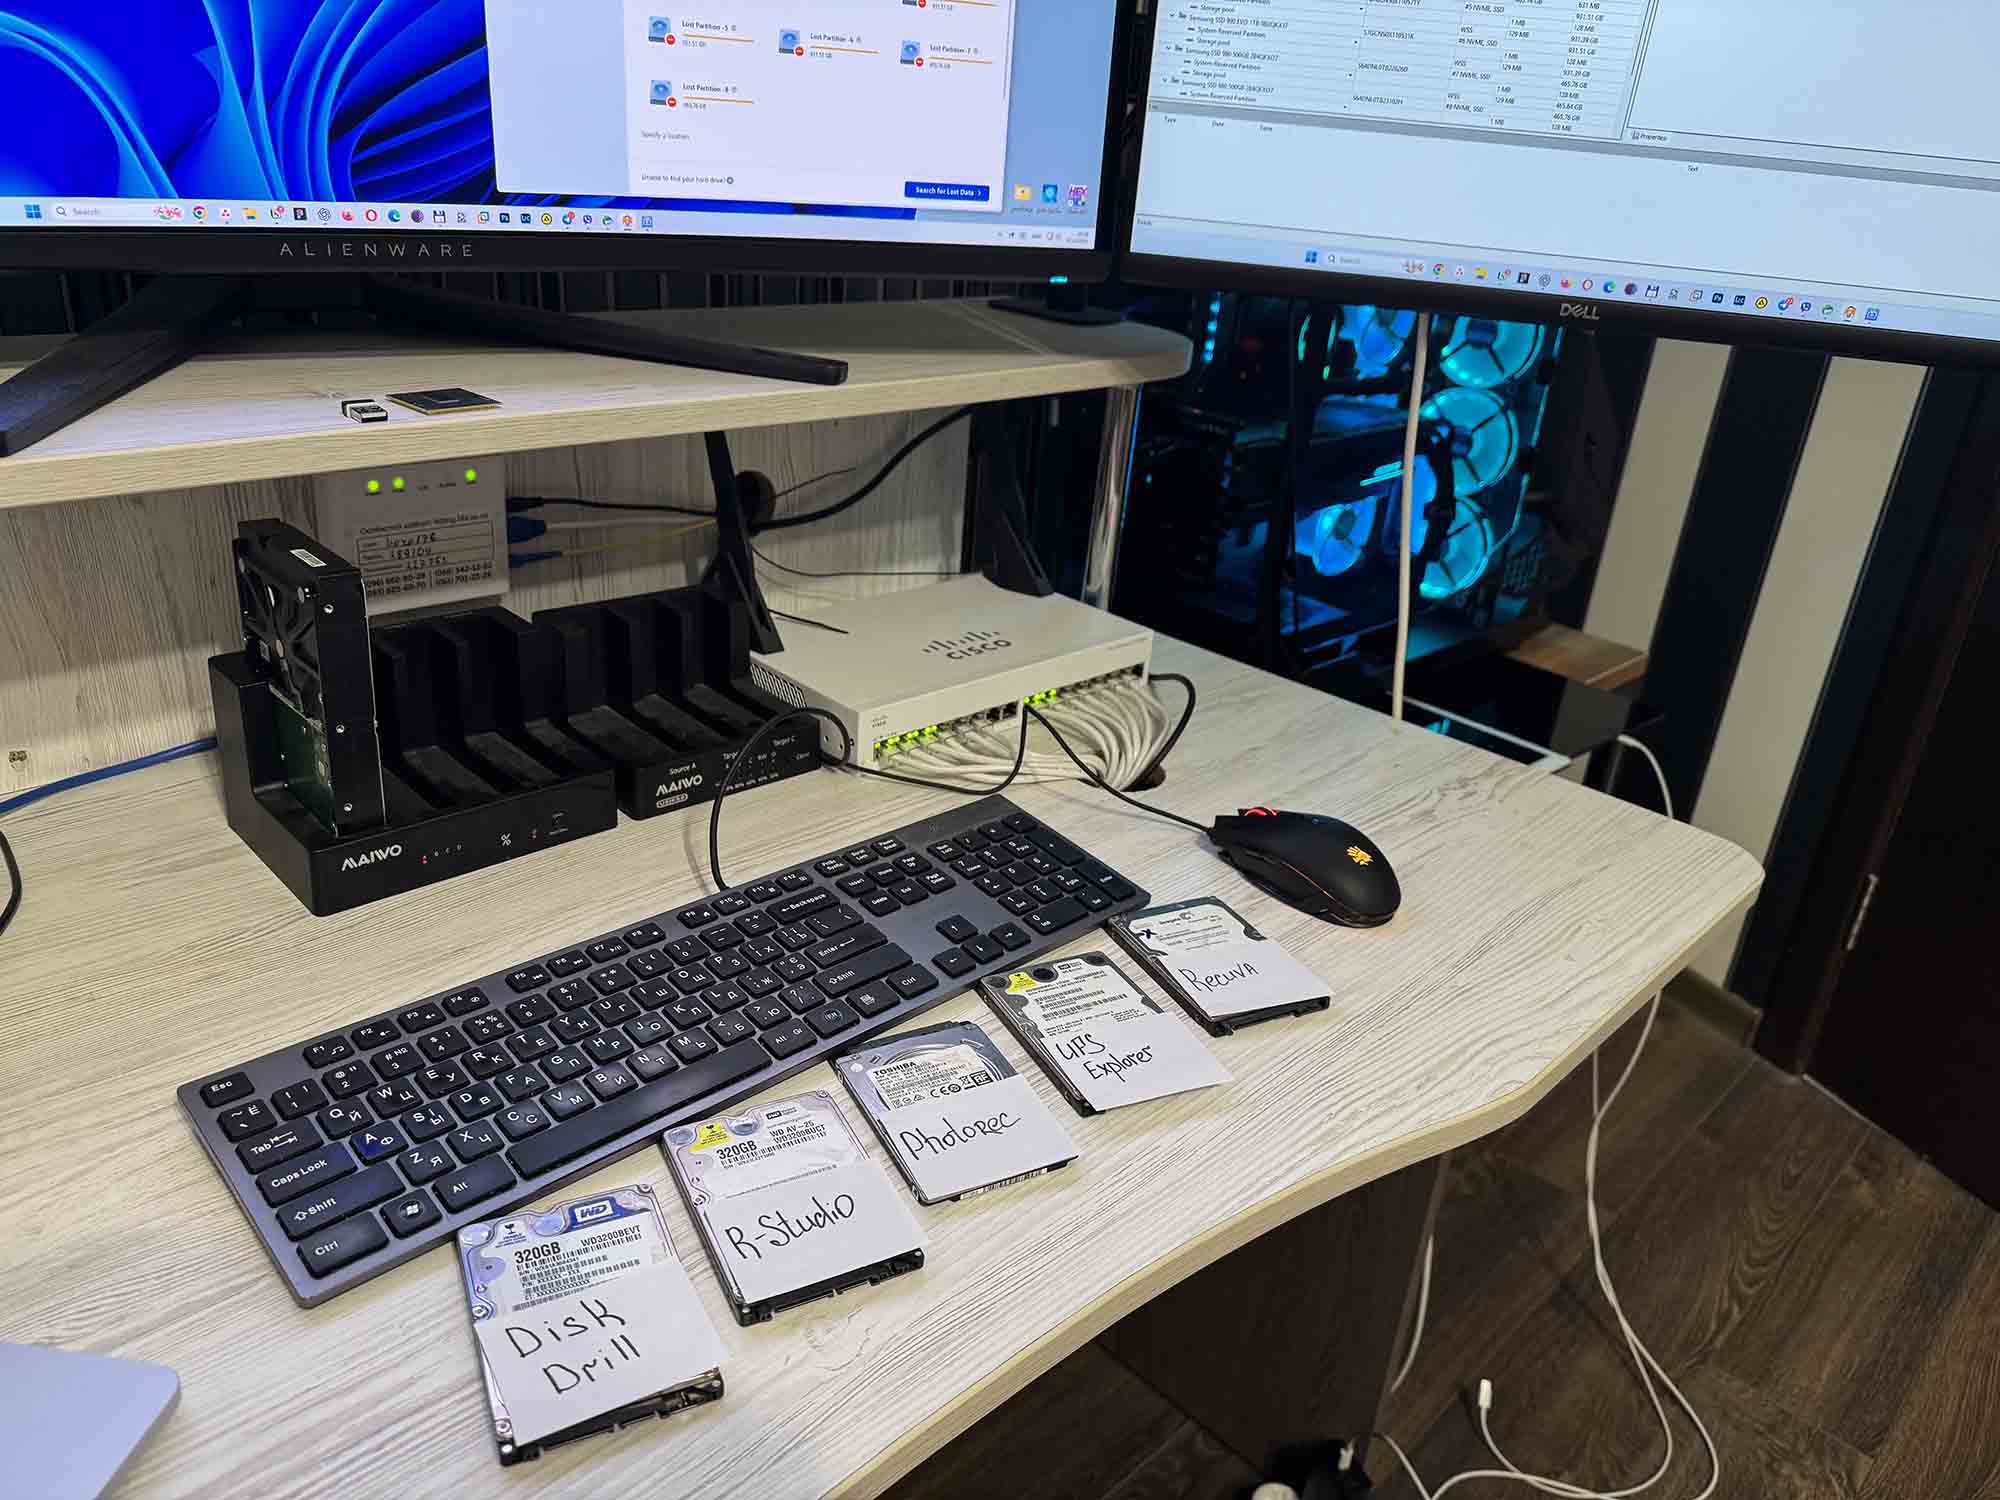
Third-party recovery tools follow the same underlying process regardless of brand: scan the drive for file-system remnants or file signatures, list what’s found, preview it, and copy selected files to a different drive. That pattern is worth reaching for when the built-in tools fail, or when a graphical interface matters more than command-line control, particularly on FAT/exFAT media where Windows File Recovery is limited to one mode. Recovering to the same drive being rescued should never happen: every write to the source drive can overwrite the exact data the scan is searching for.
Can a NAS, smart TV, or game console cause the same data loss as a PC?Yes. Any device that writes to the drive, including a NAS, a smart TV’s media indexer, or a console’s save system, can overwrite deleted files the same way a PC can. The steps above still apply once the drive is connected to a PC or Mac; stop using it on the other device immediately.
Encryption Is a Dead End Without the Key
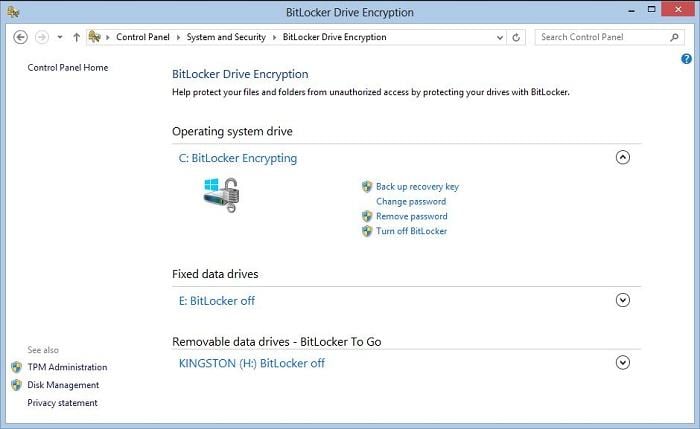
Recovery software cannot decrypt an encrypted external drive; it can only recover data that isn’t encrypted, or that you can already decrypt with the correct password or key. Western Digital’s My Passport line, one of the best-selling portable external hard drive series, encrypts data at the hardware level by default on newer models, even when no password was ever set; the key lives inside the drive’s USB enclosure, so pulling the internal drive and connecting it to a different enclosure returns unreadable data, per Gillware’s account of the design. The same logic applies to BitLocker: without the recovery key, professional labs and consumer software face the identical wall a home user does.
Can I recover files from an encrypted external drive without the password?No, not through recovery software or a data-recovery lab without the key or password. Encryption that’s working as designed makes the original loss cause (deletion, formatting) beside the point, since the data stays unreadable either way.
Reading the Physical Symptoms: Act Now vs. Act Soon
A Recovered File and a Working File Are Not the Same Thing
Recovery tools report success when they locate a file’s data, not when they confirm the file opens correctly. Files rebuilt in Extensive or Signature mode often lose their original names, folder structure, and metadata, since that information lived in the file-system table the recovery worked around. Open and check recovered files before wiping the source drive.
Will recovered files open correctly, or just reappear?Depends on the mode and cause. Regular-mode recovery of recently deleted NTFS files usually preserves names and structure; Extensive or Signature-mode recovery from a formatted, RAW, or badly damaged drive frequently returns files under generic names with folder structure gone, even when the file content itself opens fine.
If the Recovered Data Belongs to Someone Else
What should I do with recovered files that contain someone else’s personal or client data?Treat the original loss event as a possible reportable incident under whatever regulation applies before assuming recovery closes the matter, and document that assessment either way, even if the conclusion is that no notification is required.
Common Mistakes That Cost Recoverable Data
- Recovering to the same drive: overwrites the exact free space the scan is searching.
- Reformatting to “fix” a RAW or unrecognized drive: turns a fixable problem into permanent loss.
- Troubleshooting from the device that lost the data, using it as the destination too: doubles write activity exactly when it matters least.
- Waiting to see if the problem clears up on its own: every additional session of ordinary use adds overwrite risk, especially on SSD media.
- Assuming a professional lab can’t help just because software failed: physical and firmware-level cases need lab tools no consumer software can replicate.
Preventing the Next Loss
A 3-2-1 backup pattern, three copies across two media types with one offsite, is what actually prevents needing this guide again. For external drives specifically, the cheapest addition is a second drive that syncs automatically. A second external drive costs less than a single professional recovery session in nearly every case.