
Which Backup Method Fits Your Situation
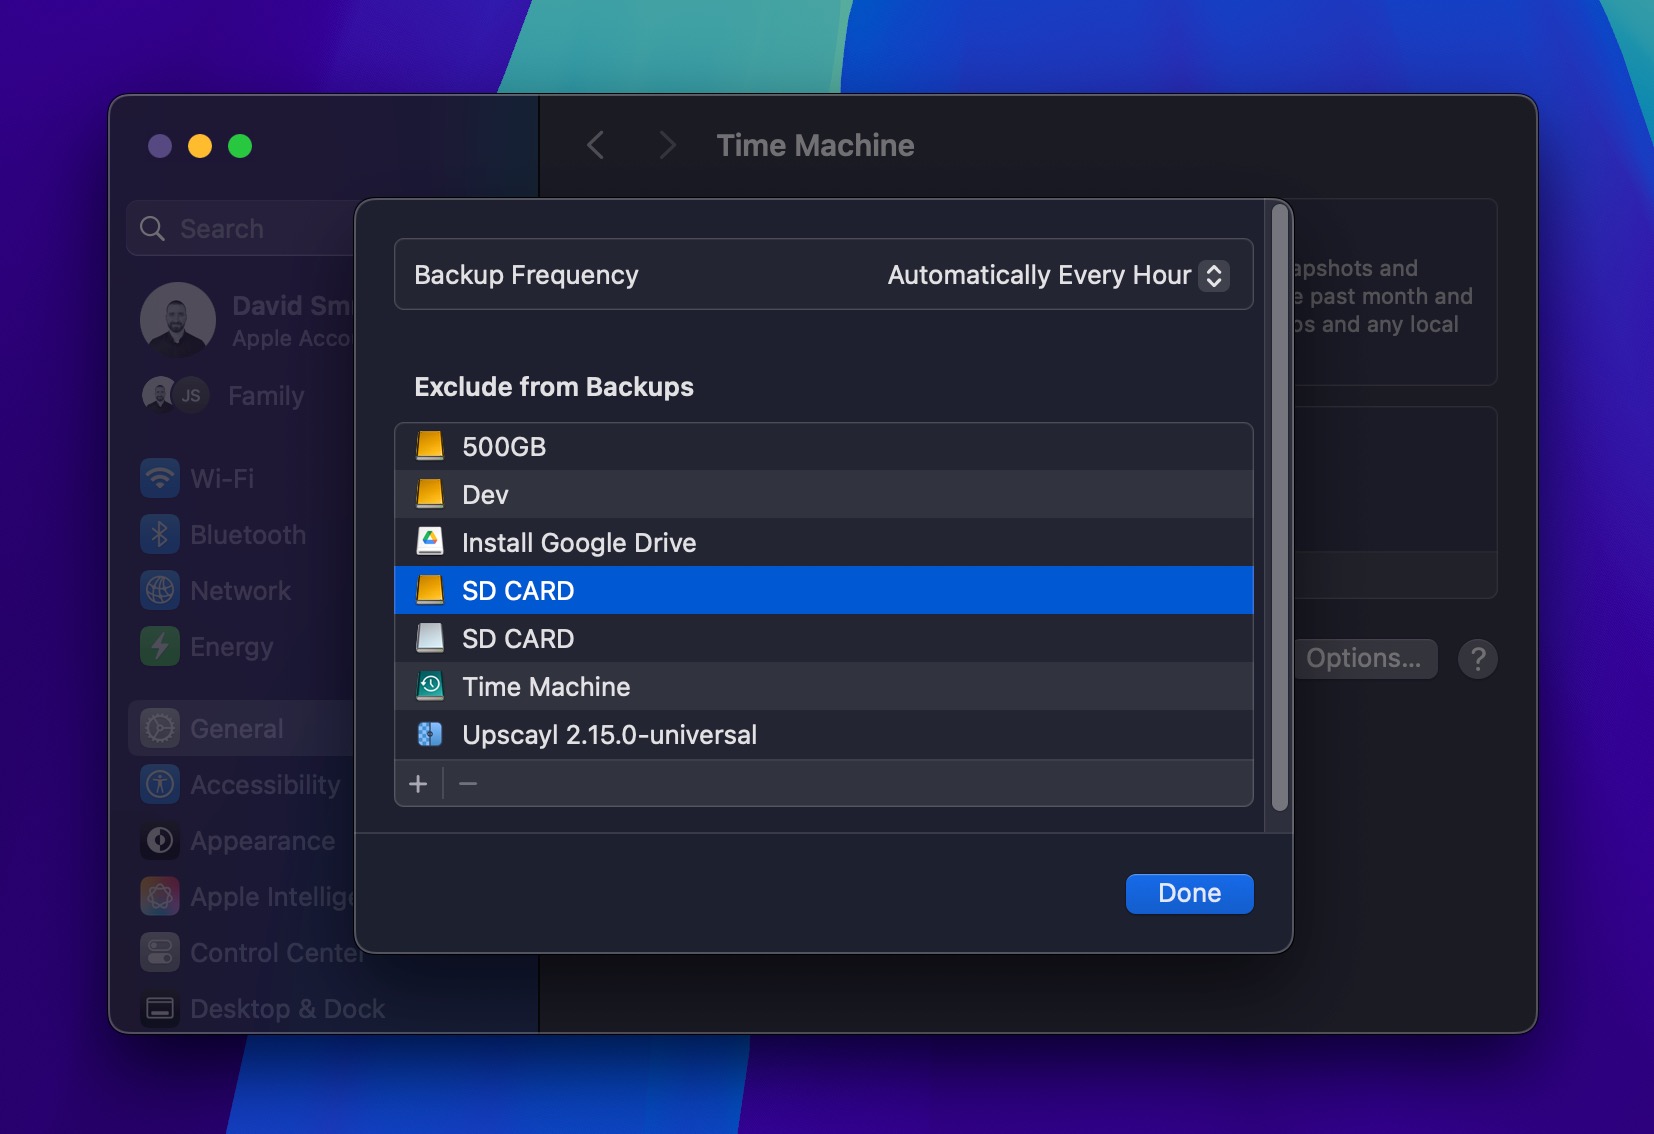
A casual user and an IT manager backing up client files need different architectures, not different levels of the same tutorial.
| User type | Primary method | Secondary method | Why |
|---|---|---|---|
| Casual user (docs, photos, browsing) | Time Machine to an external drive | iCloud+ 200GB | Local restores are faster; iCloud protects against theft or drive failure |
| Power user / creative (large media libraries) | Time Machine to a dedicated large drive | A separate offsite cloud backup service | iCloud’s per-terabyte cost climbs fast for multi-terabyte media; Time Machine handles bulk local data at no ongoing cost |
| IT/SMB or regulated professional (client, financial, legal data) | Time Machine plus a NAS destination for the office | A documented retention and destruction policy | Compliance needs an audit trail, not just a disk image |
| Mac won’t power on | Share Disk (Apple Silicon) or Target Disk Mode (Intel), via a second Mac | A data-recovery service if neither works | The recovery path depends entirely on which chip generation is inside the Mac |
No row in that table substitutes for another; most readers beyond casual use need at least two.
Setting Up Time Machine
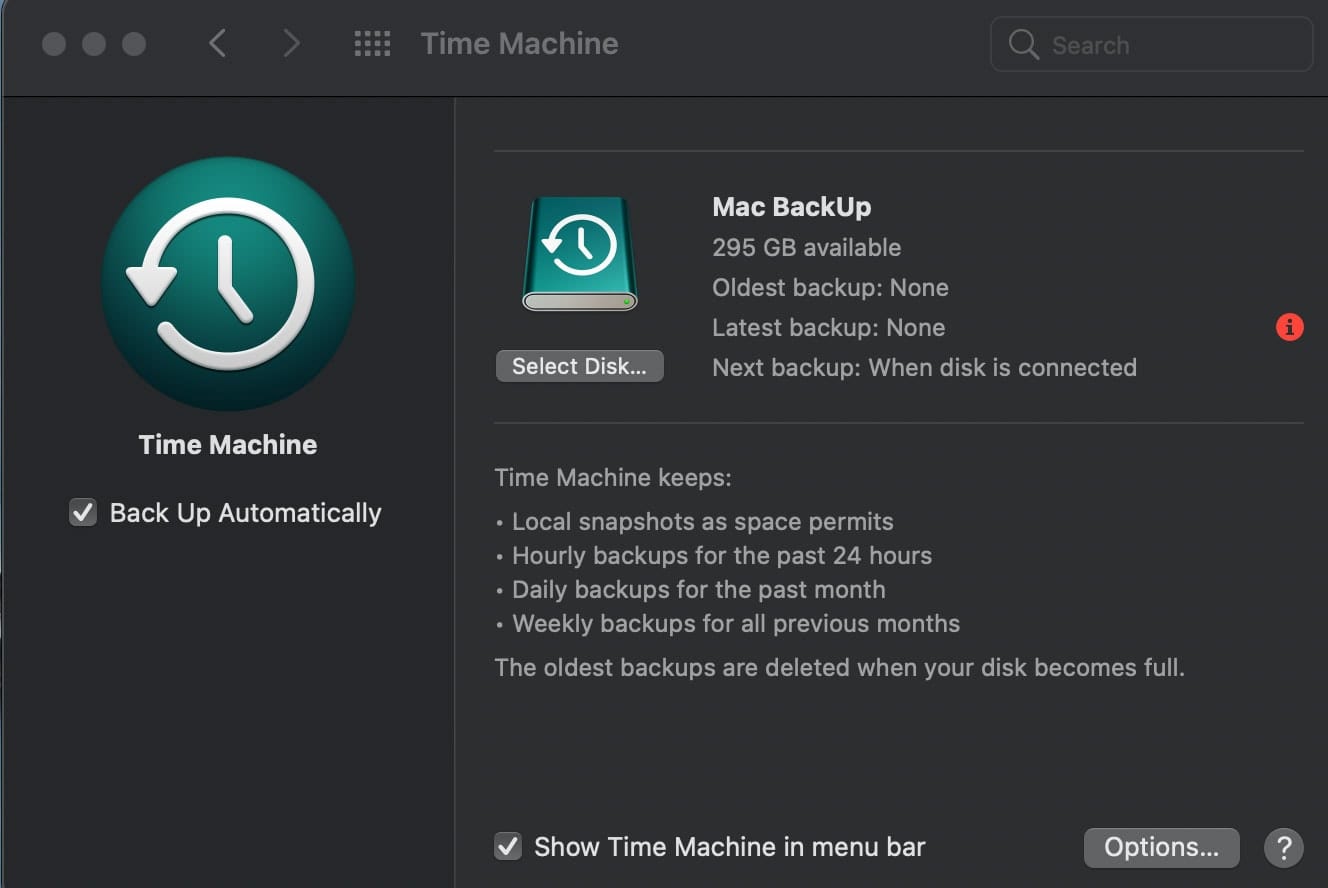
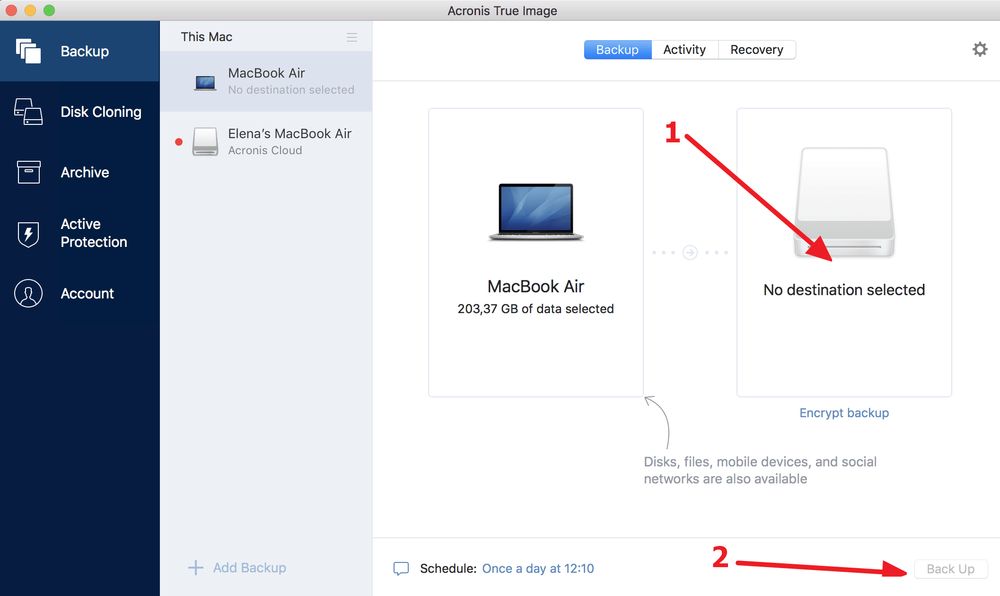
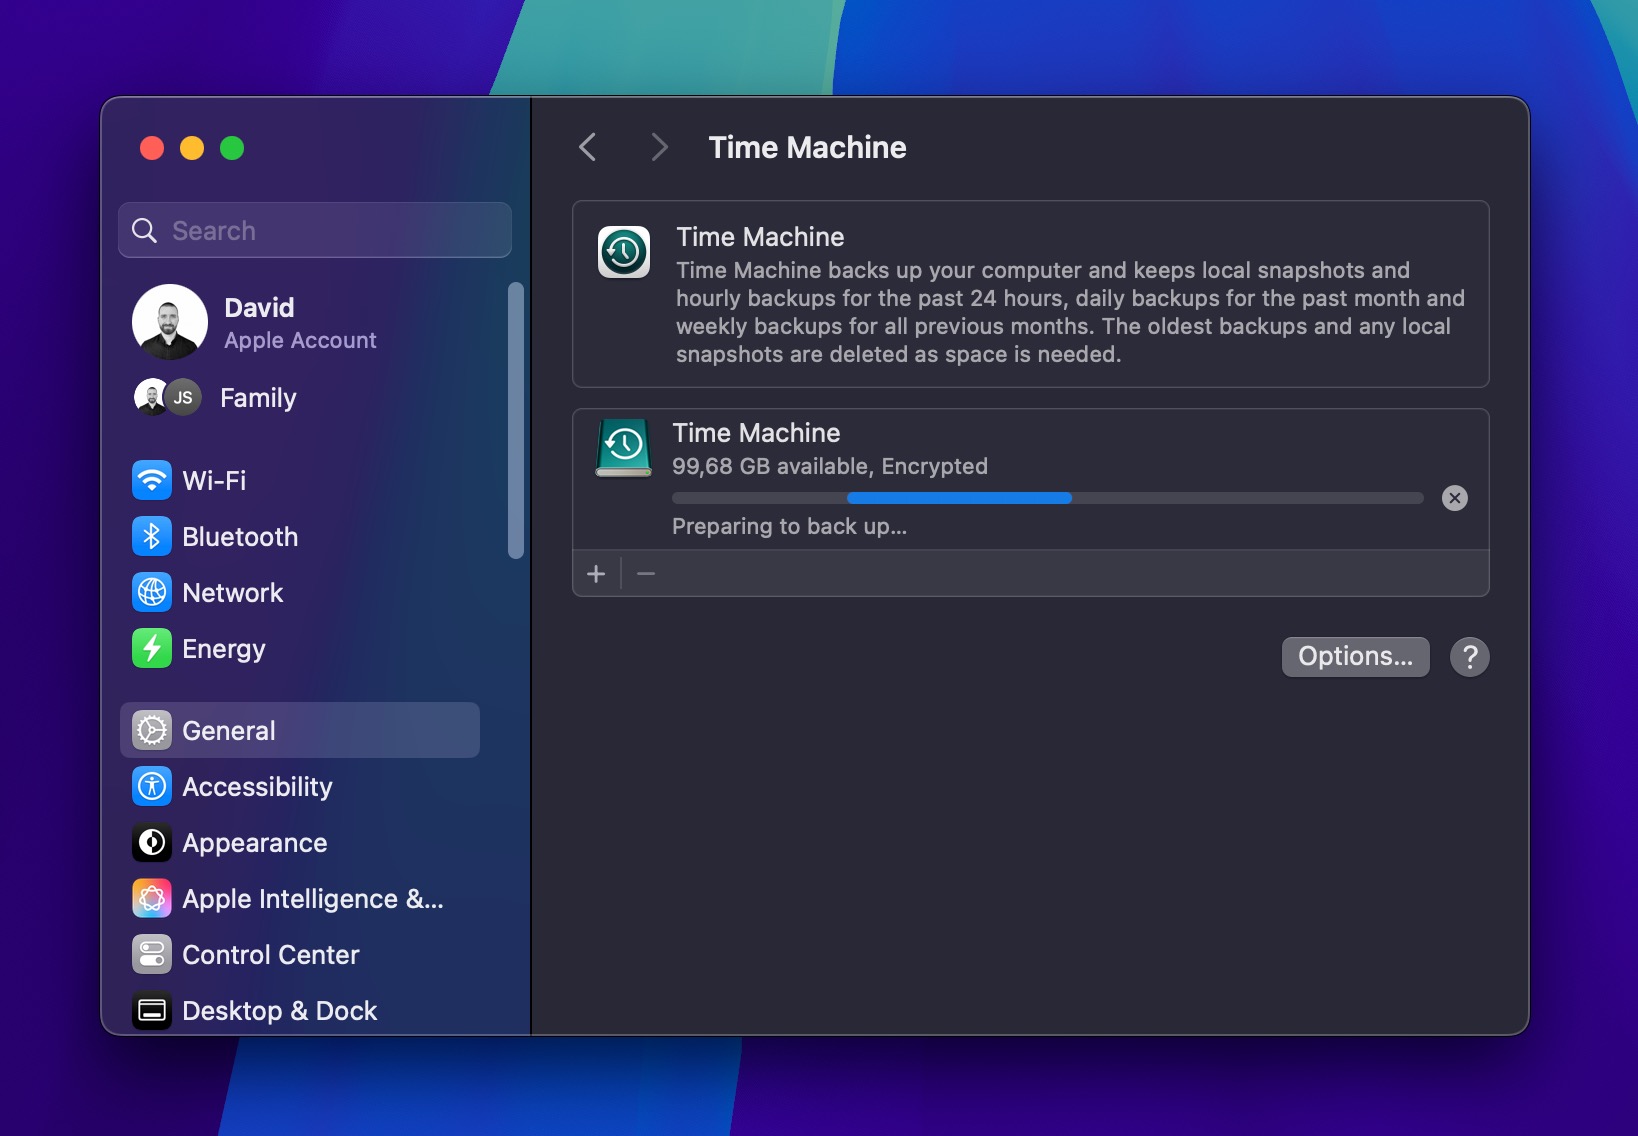
Open System Settings, click General, click Time Machine, then Add Backup Disk, and select the connected drive.
Formatting Your Backup Drive
macOS typically needs to erase the drive to APFS with a GUID Partition Map before first use. Anything currently on that drive will be gone once you confirm.
The Password Risk Nobody Mentions
Time Machine offers an “Encrypt backup” checkbox during setup. Forget that password later and the backup is unrecoverable – no reset path, no support ticket, no workaround. Write the password down somewhere that survives a house fire, not only in your head.
What happens if I forget my Time Machine encryption password?
The encrypted backup becomes permanently unreadable. Apple provides no recovery mechanism for a lost Time Machine encryption password, so the drive’s contents are effectively gone even though the files remain physically on it.
Setting Up iCloud
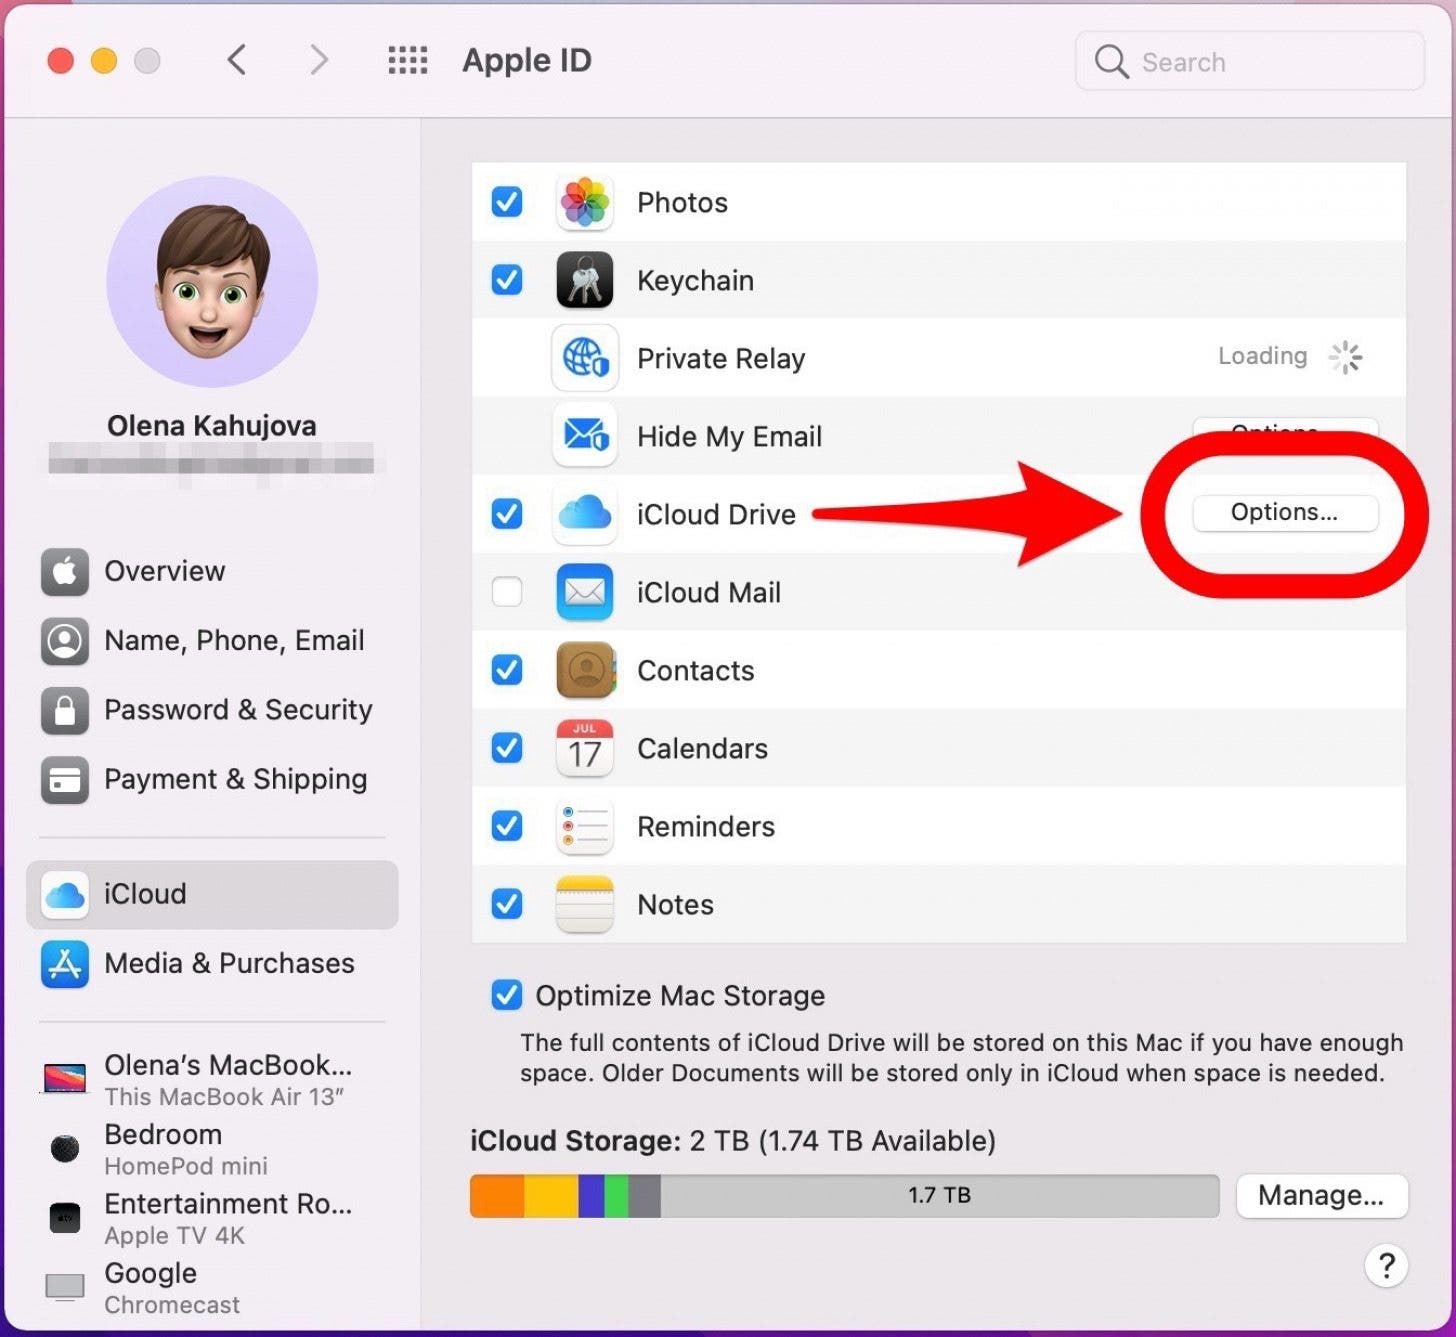
In System Settings, click your name, then iCloud, then turn on iCloud Drive and Desktop & Documents Folders if you want those synced automatically.
iCloud mirrors specific folders and app data across your signed-in devices in near real time. Delete a file on one device and, once sync completes, it disappears everywhere iCloud touches it. A retained, point-in-time copy is a separate thing entirely, and it’s the piece iCloud alone doesn’t supply.
Is iCloud a backup, or just sync?
iCloud syncs active files across devices. A backup is a retained copy you can restore an earlier version from. Relying on iCloud alone means a mistaken deletion can propagate before you notice it.
As of April 2026, Apple’s published iCloud+ pricing lists the 2TB tier at $9.99 a month in the US, a figure that has held steady across several recent pricing cycles.
Comparing Your Options
| Method | What it protects | Restore speed | Offsite protection | Cost |
|---|---|---|---|---|
| Time Machine | Full system, versioned history | Fast, local | No, unless the drive leaves the building | Free, cost of a drive |
| iCloud+ | Active files, Photos, Desktop/Documents | Automatic for synced items | Yes, by design | $0.99–$59.99/mo |
| Third-party cloud backup | Full drive, offsite | Slower first upload, bandwidth-dependent | Yes | Varies by vendor |
| Disk cloning | Exact bootable copy | Immediate, boot directly from clone | No, unless stored offsite | Free (Disk Utility) to paid |
A serious strategy for anyone beyond casual use combines at least two rows from this table.
Verifying a Backup Before You Need It
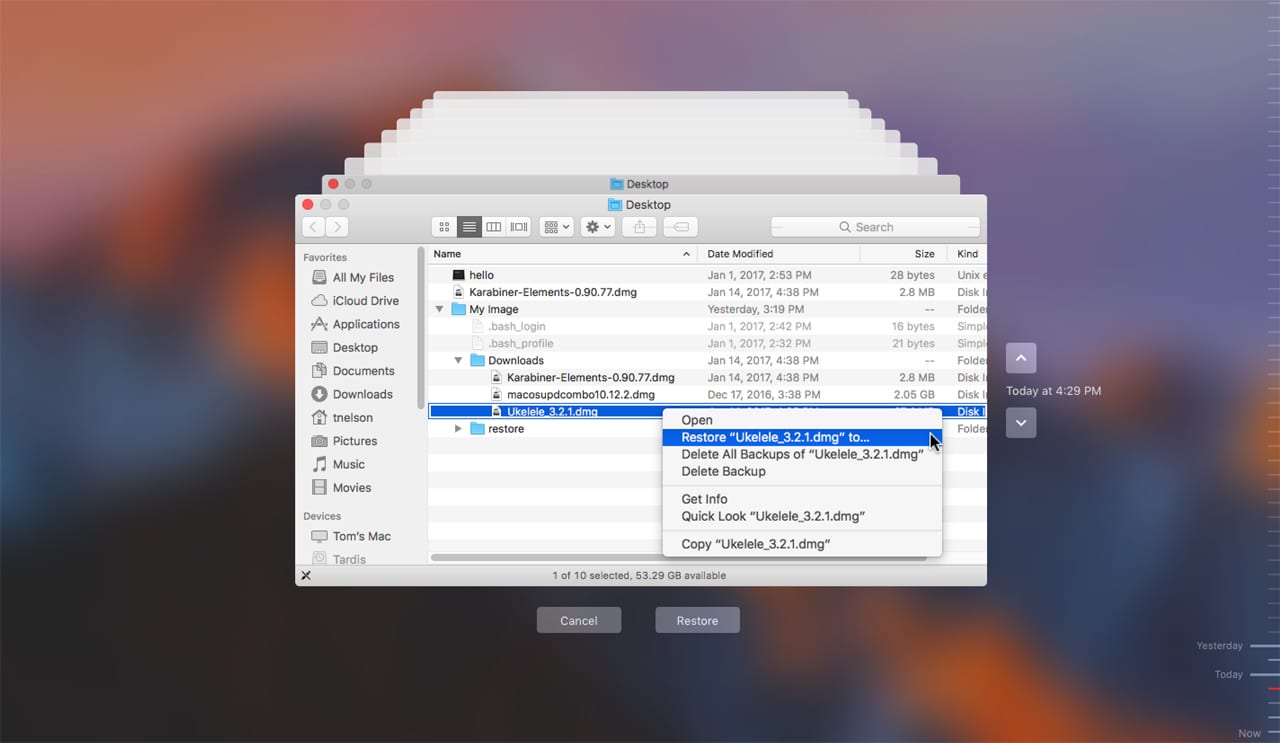
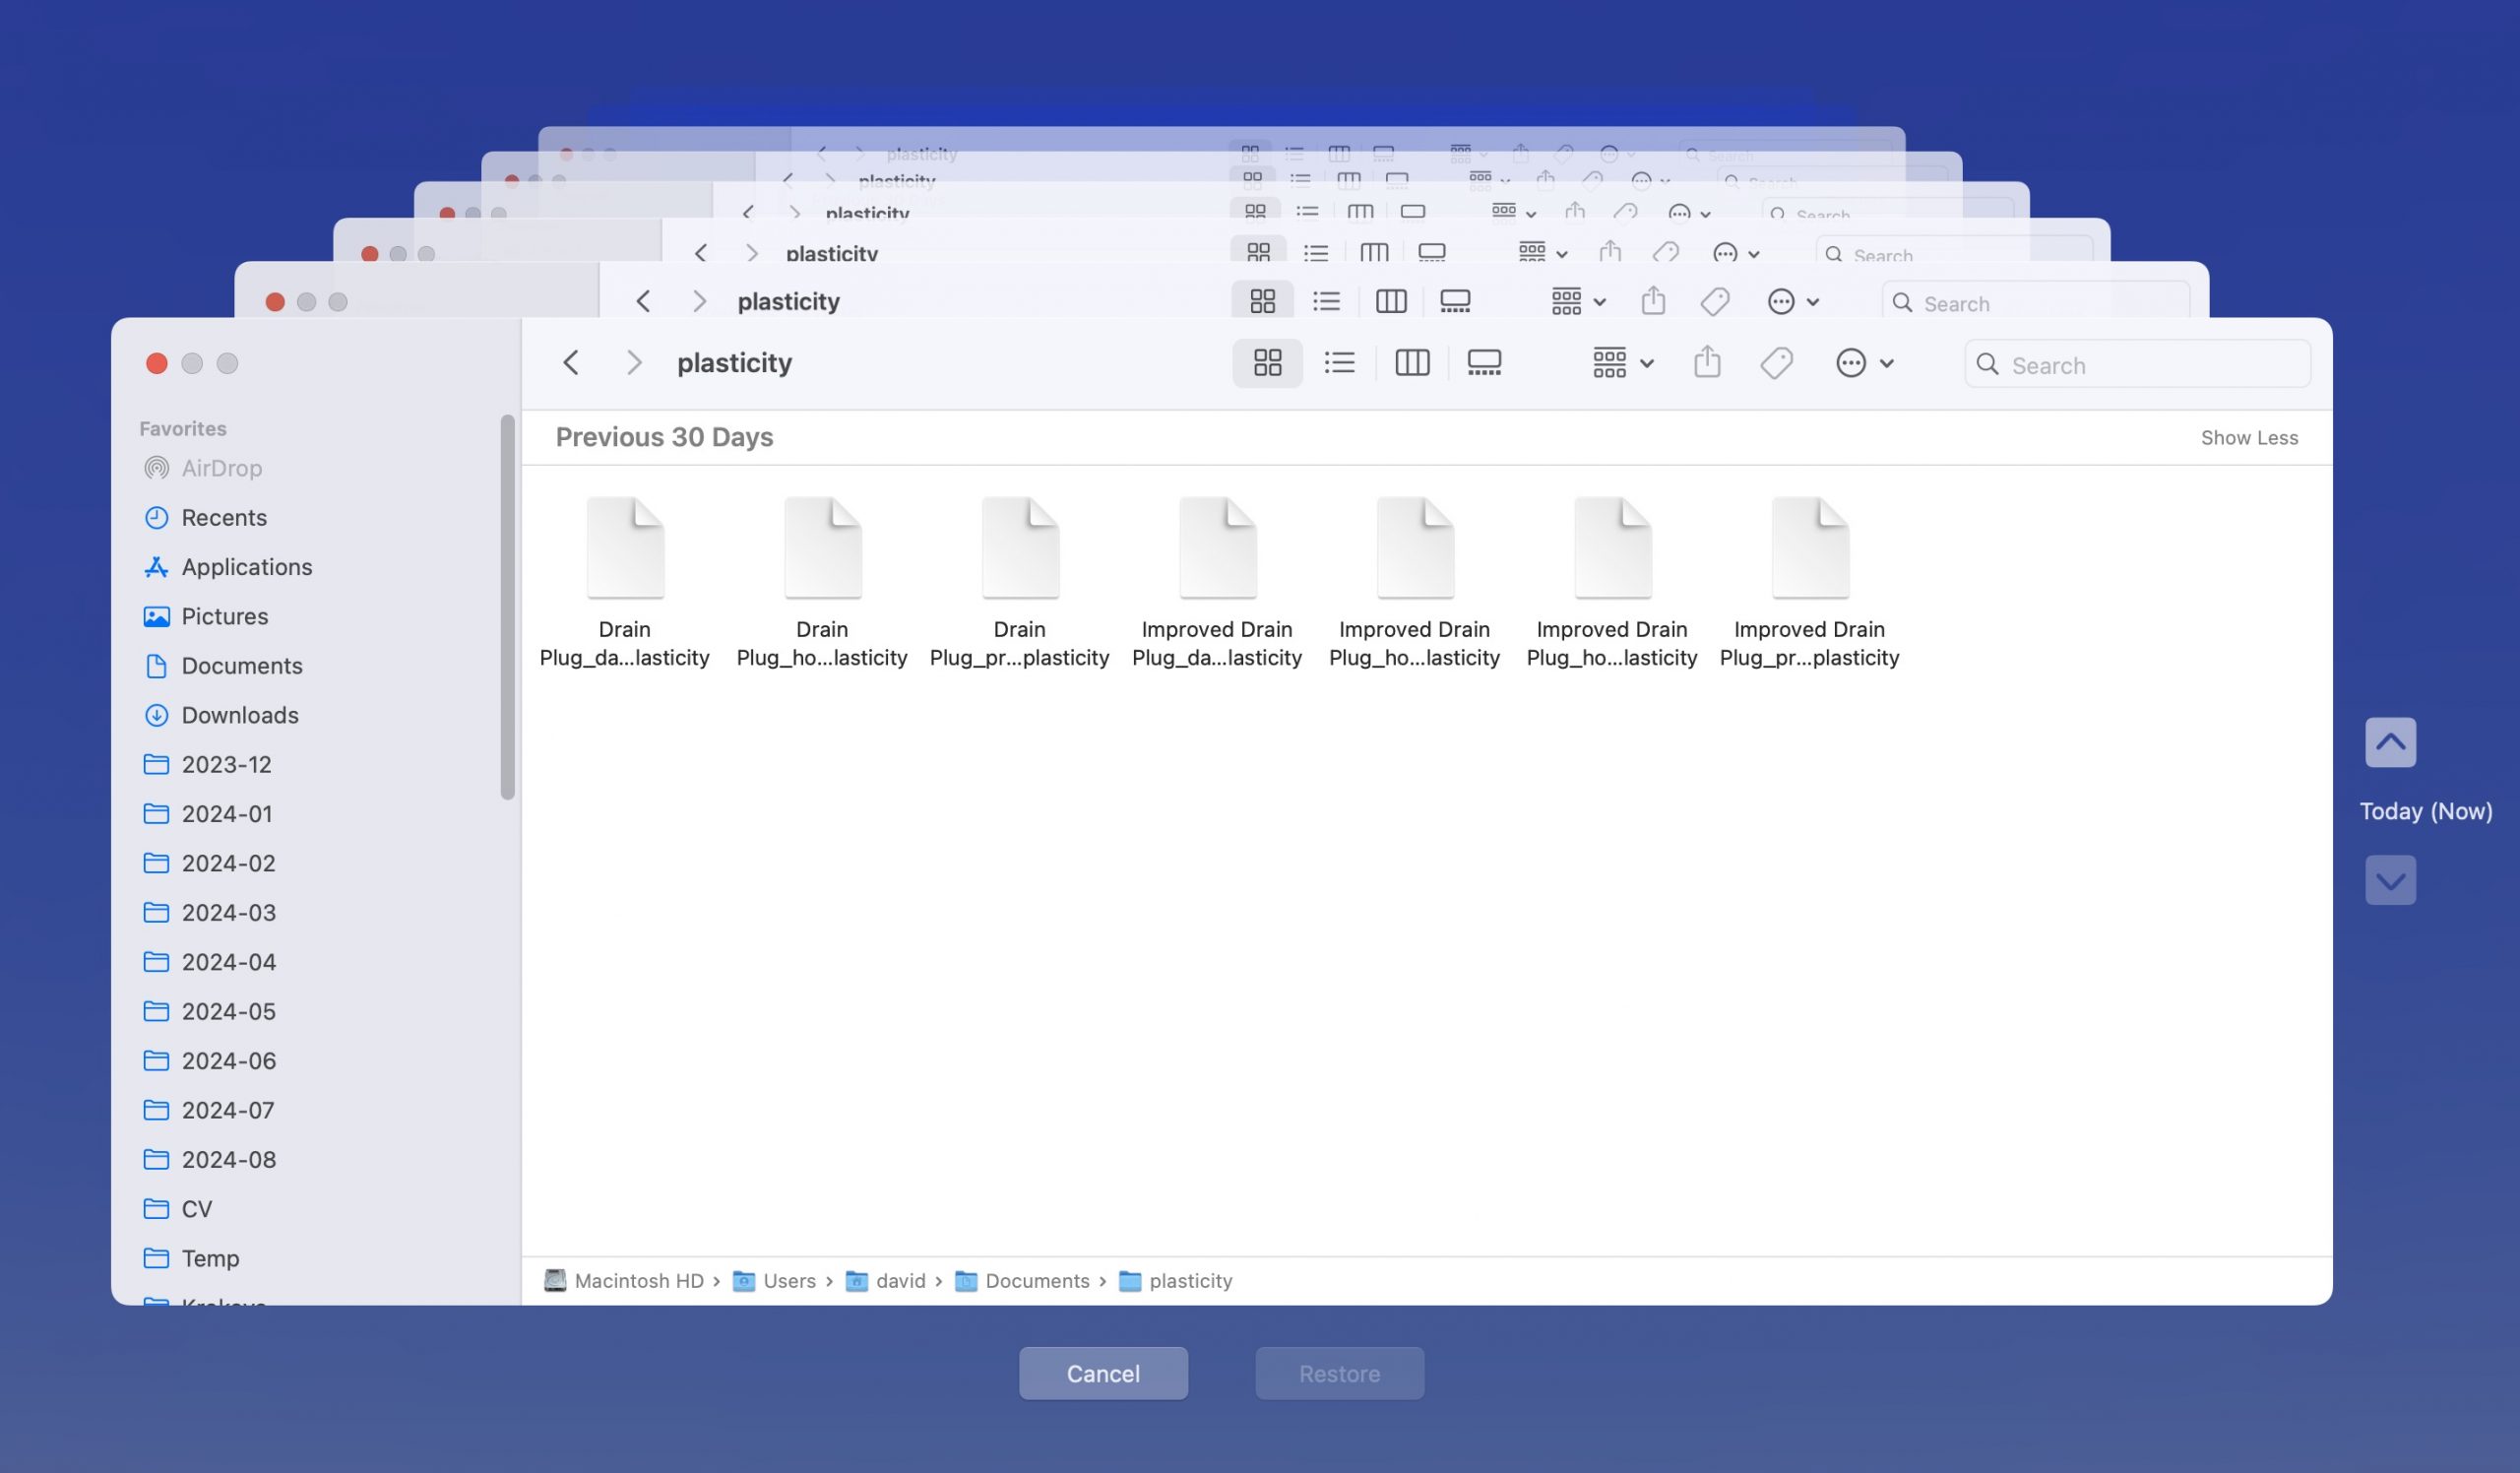
Open Time Machine, click Browse Other Backup Disks, and confirm the most recent snapshot date matches when you expect it to. Then pick a real file, restore it to a temporary folder, and open it.
How do I know my backup will restore if I need it?
Only by testing a restore. Confirming Time Machine completed a backup tells you the copy process finished, not that the resulting files are intact and openable.
What Backup Alone Won’t Protect
A backup protects files that already exist on the drive. It does nothing for a licensed application’s activation state, browser passwords if iCloud Keychain isn’t enabled, or work stored exclusively inside a web app’s own servers. Sort data into replaceable and irreplaceable before deciding how much backup infrastructure the irreplaceable half needs.
Backing Up Regulated or Professional Data
If the Mac holds client files, patient records, or financial data, the backup question becomes partly a data-residency question. Where iCloud’s data centers sit relative to GDPR, CCPA, or HIPAA obligations depends on the specific data category and your organization’s agreements; this guide can’t state a blanket answer for every reader, and treats consumer iCloud as a sync tool rather than a compliance solution until that’s confirmed directly.
Where Does Your Backup Data Actually Live?
Confirm data-processing terms with whoever handles compliance before treating consumer-tier cloud storage as sufficient for regulated files.
Photographers and video editors working from Lightroom or Premiere project files need the referenced originals backed up alongside the project file itself, not just the small catalog file Time Machine might otherwise treat as the whole library. Lawyers and accountants working from local case or client folders should confirm those folders sit inside the Time Machine backup scope.
Do I need a separate backup for my Photos or Lightroom library?
Yes, if the originals live outside the catalog file. A Lightroom catalog can reference images stored elsewhere on disk; back up both the catalog and the referenced folder, or a restore will show broken thumbnails.
Is Time Machine enough for a small business with client data?
On its own, no. Time Machine gives local recovery from hardware failure. It doesn’t supply an offsite copy, a retention policy, or a documented destruction process, which a client-data environment typically needs.
Small-Office and NAS Time Machine Setup
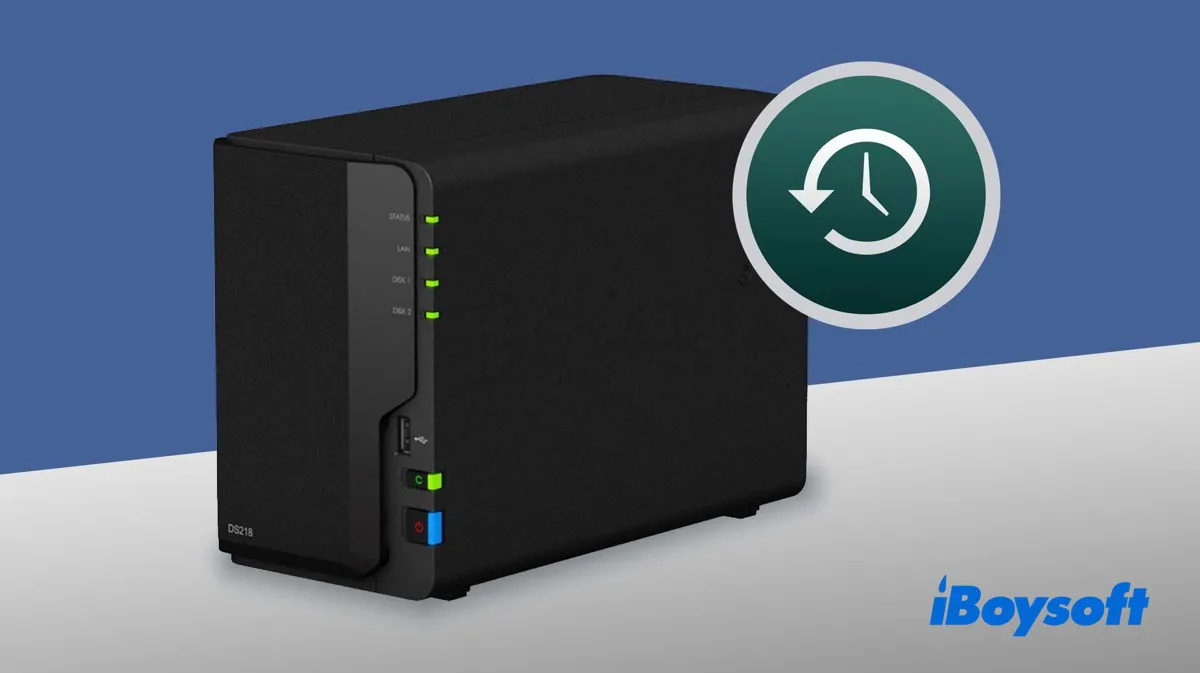
Time Machine can target network-attached storage instead of a directly connected drive, letting several Macs in a small office back up to one central destination over the local network. Select the NAS share instead of a local disk in the same Time Machine settings pane. Backups run more slowly over a network than over USB or Thunderbolt, so schedule the first full backup for overnight or a low-usage window.
When Time Machine Isn’t Enough
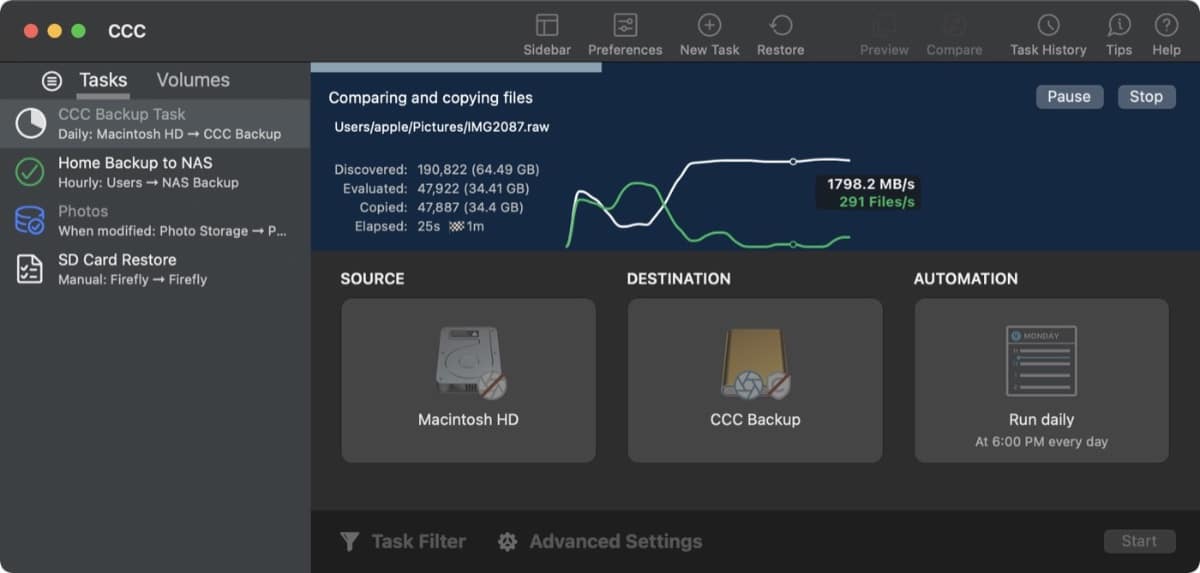
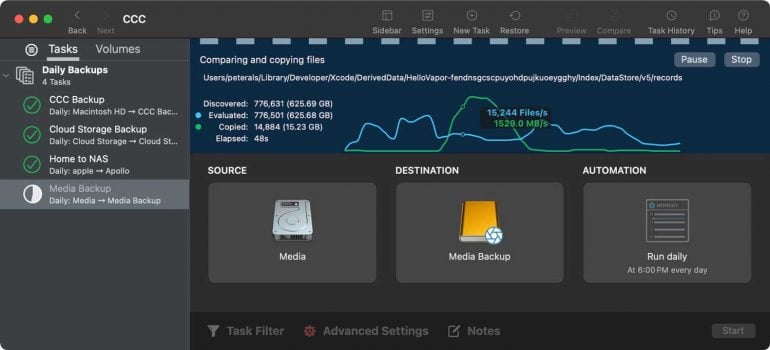
Time Machine restores files and folders, but rebuilding a fully bootable system from it still takes time. A bootable clone, made with Disk Utility or a dedicated cloning app, works differently: plug it into another Mac and you’re working again within minutes, with no restore process at all. This matters most for anyone whose downtime carries a direct cost.
If Your Mac Won’t Turn On
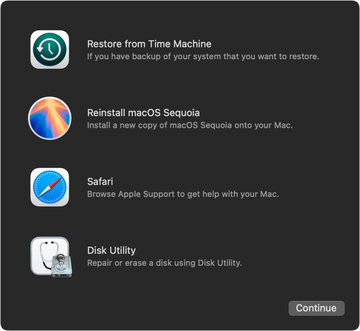
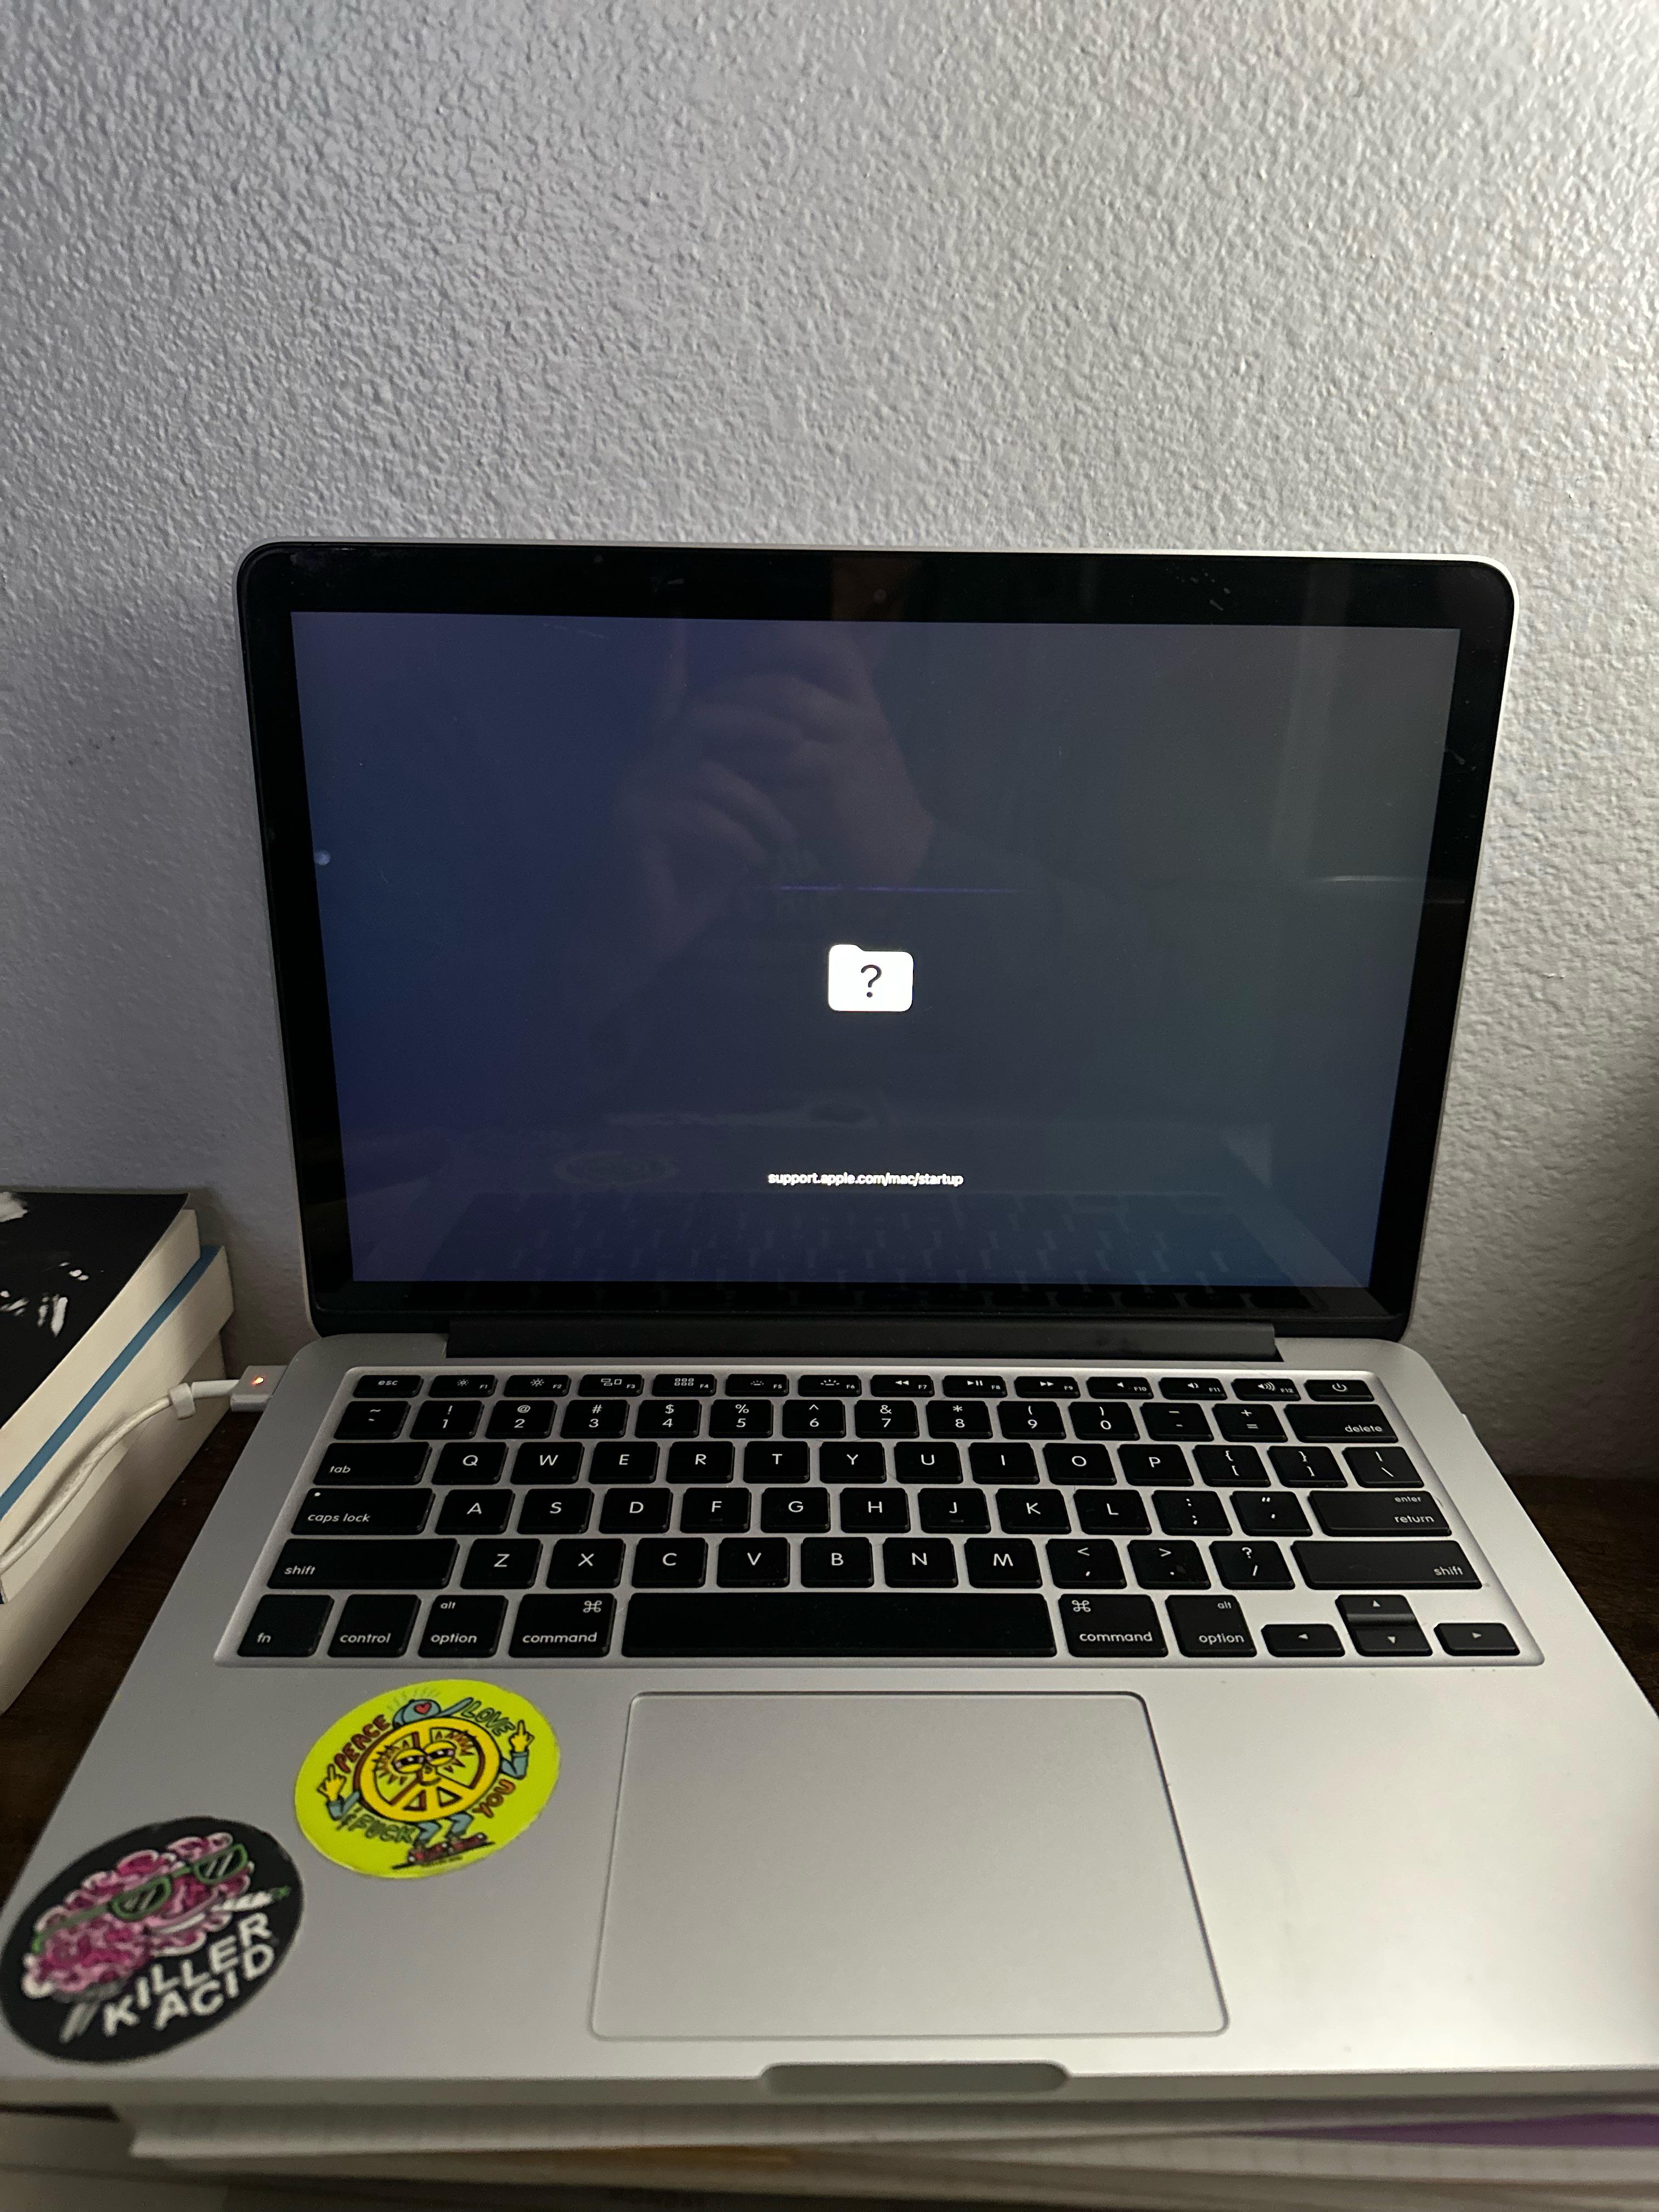
The recovery path depends on the chip inside the Mac. On Apple Silicon Macs, there is no Target Disk Mode. The replacement is Share Disk, reached by holding the power button until startup options appear, choosing Recovery, then Utilities, then Share Disk from the menu bar. It prompts for the administrator password before the drive becomes visible to a second Mac. On Intel Macs, hold the T key at startup, or select Restart in Target Disk Mode from Startup Disk in System Settings; a Thunderbolt cable is required if either Mac runs macOS 11 or later.
Common Backup Failures and Fixes
| Symptom | Likely cause | Action |
|---|---|---|
| Time Machine can’t find the backup disk | Disk asleep, disconnected, or erased and never reselected | Reconnect and wake the disk, then reselect it in Time Machine settings |
| First backup runs for hours | Normal for a large initial backup | Let it run overnight on power; later backups copy only changes |
| A backup won’t restore on an older Mac | Backups made on macOS 12 or later restore only to macOS 11 or later | Confirm the destination Mac’s macOS version first |
| iCloud stopped syncing new files | Storage tier is full | Free up space or upgrade the tier |
These four map to failures Apple’s own troubleshooting documentation actually addresses, not a generic placeholder list.
Retiring a Backup Drive Safely
Once an old Time Machine drive is replaced, it still holds every file it ever backed up. NIST SP 800-88 defines three sanitization methods: Clear, which overwrites accessible storage; Purge, using techniques resistant to lab-level recovery; and Destroy, physical destruction. The guidelines also call for verifying that sanitization worked before the drive leaves your control. For a drive that ever held client or financial data, that’s a meaningfully higher bar than dragging files to the Trash.
Third-Party Backup Tools Worth Considering
Evaluate any third-party app on three questions: does it produce a bootable clone, does it verify the backup after it runs, and does it support offsite storage. A tool that can’t answer yes to at least one is duplicating what’s already built into macOS.
Preventive Habits and a Maintenance Schedule
- Keep the drive connected on a normal schedule rather than only before a big software update.
- Check the backup date monthly. A stale timestamp is easy to miss until it matters.
- Test a restore quarterly, not just once at setup.
- Replace the physical drive every few years. Drives fail on their own timeline regardless of the software layer above them.