
What formatting actually erases
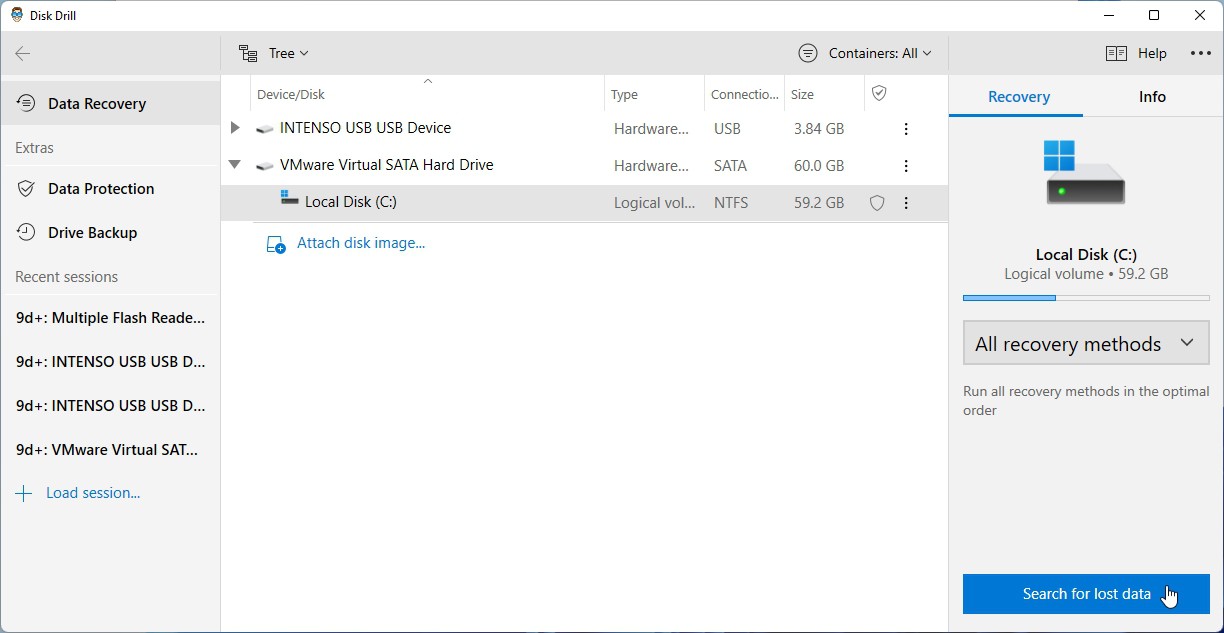
Formatting a drive rewrites its file-system index, the Master File Table on NTFS or the equivalent structure on FAT/exFAT/APFS, marking every sector as free space. On a healthy HDD, the underlying data is left in place until something new is written over it; that’s the mechanism recovery software relies on. TRIM changes this on an SSD, and a full-format overwrite pass changes it on either drive type, both covered below. Accidental formats usually trace to one of a handful of causes: the wrong drive selected during an OS installer, a “quick format” clicked during troubleshooting without checking the drive letter twice, a RAID rebuild started on the wrong array, or malware that reformats a volume as part of an attack.
Does formatting really delete my files immediately? No, on a hard drive. Formatting clears the index, and the file content stays in the sectors until something writes over them. On an SSD with TRIM enabled, the picture changes: TRIM can erase the flash cells shortly after the format, whether you chose quick or full.
Does your situation still have a chance?
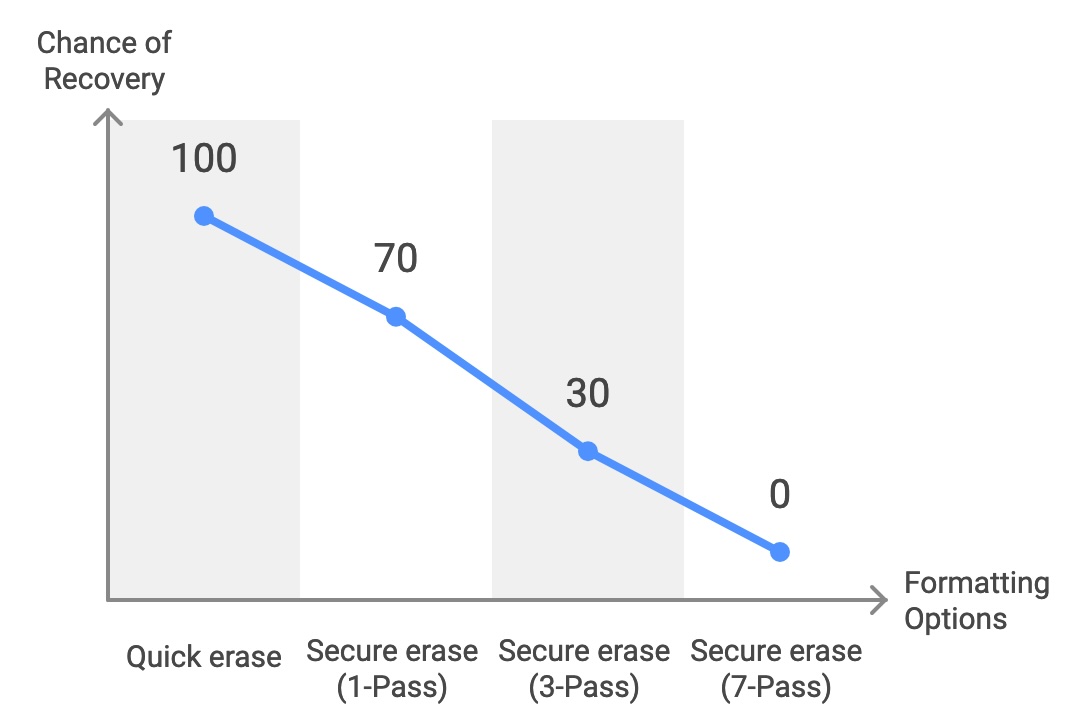
Skip the percentage tables you’ll see on recovery-software marketing pages. None of the figures behind them, “85 to 98% success,” “under 5% for SSDs,” trace to a published methodology, sample size, or independent test, so treating them as your personal odds is a mistake. What actually determines your odds is the mechanism below.
| Scenario | What’s happening on the disk | What to do right now |
|---|---|---|
| HDD, quick format, nothing written since | File index cleared, data sectors untouched | Stop using the drive, run recovery software from a separate drive |
| HDD, full format | Sectors overwritten with a zero pattern during the format pass | Check backups first; recovery odds are low regardless of software used |
| SSD, quick or full format, TRIM enabled | Flash cells receive an erase command from the controller shortly after formatting | Check backups and cloud trash before assuming software can help |
| SSD in an external USB enclosure | Some USB bridge chipsets don’t pass TRIM commands through from the host, so blocks can survive longer than on an internal SSD | Worth attempting software recovery before writing off the drive |
| Drive not detected, clicking, or unusually slow | Mechanical or firmware fault, not a formatting issue | Stop all attempts, don’t run chkdsk, contact a lab |
The row that matters most for most accidental formats is the first one: on a healthy HDD with a quick format and no writes since, the odds genuinely favor you, and the priority is stopping further writes, not choosing between software brands.
HDD vs. SSD, and the TRIM self-check
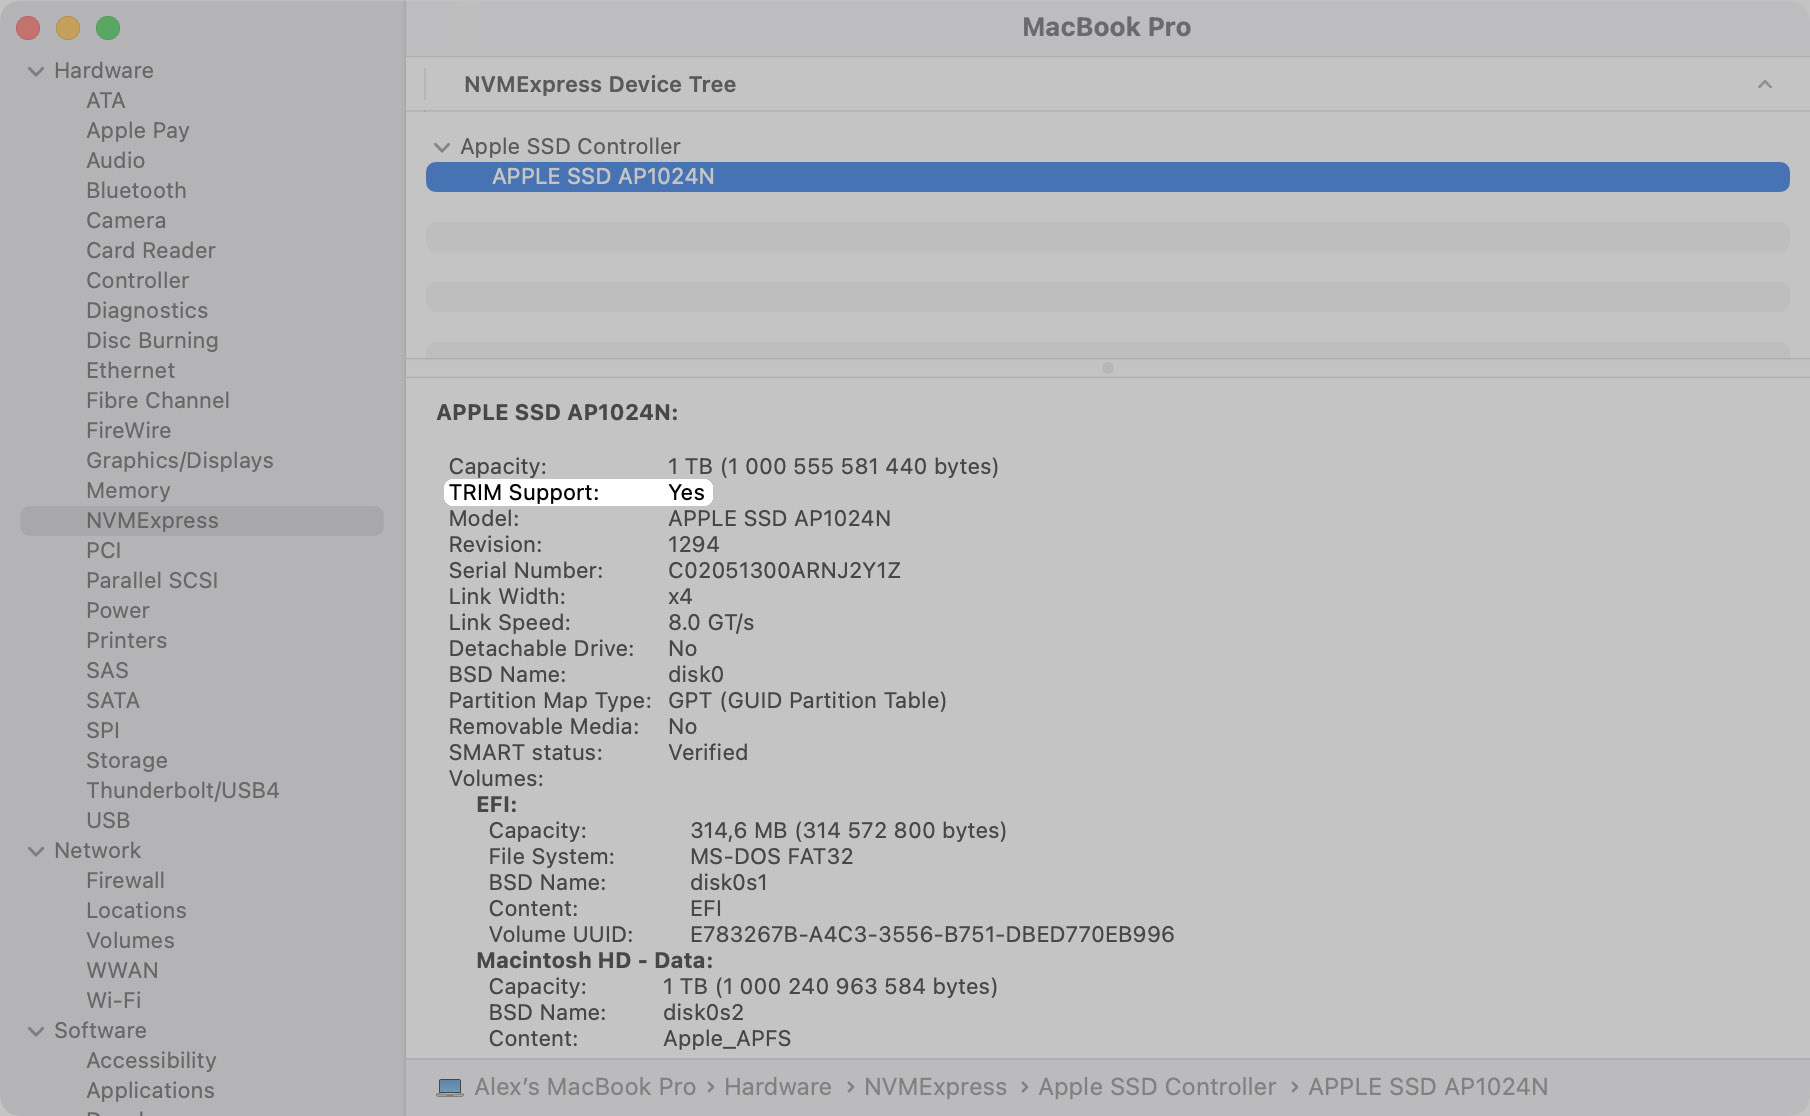
An HDD formatted by accident is usually your best-case scenario; an SSD with TRIM enabled is usually your worst case, because TRIM operates at the flash-controller level below the file system entirely. You can check your own SSD’s TRIM status on Windows by opening an administrator command prompt and running Microsoft’s documented fsutil behavior command: fsutil behavior query DisableDeleteNotify. A returned value of 0 means TRIM is enabled for that file system; 1 means it’s disabled, which is the one case where an SSD quick format behaves more like an HDD’s.
Apple documents the asymmetry from the other direction: Disk Utility’s multi-pass overwrite (“Security Options”) isn’t available for solid-state drives at all, because overwrite-based secure erase doesn’t map onto how flash storage manages data the way it does on spinning platters. If you formatted an internal Mac SSD, there’s no equivalent self-check exposed to most users; treat internal Apple-silicon SSDs as TRIM-active by default.
External SSDs are the one place the picture might tilt back in your favor: some USB bridge chipsets historically haven’t passed TRIM (UNMAP) commands through from the host operating system, though this varies by controller and isn’t something you can verify without vendor-specific documentation. Treat it as a reason to attempt recovery, not a guarantee.
How do I know if TRIM already ran on my SSD? Run
fsutil behavior query DisableDeleteNotifyin an administrator command prompt on Windows. A result of0means TRIM is active for that file system, and any deleted or formatted data on that SSD has likely already been erased at the hardware level. There’s no equivalent check most macOS users can run themselves; assume TRIM is active on an internal Mac SSD unless you know otherwise.
Recovering with software
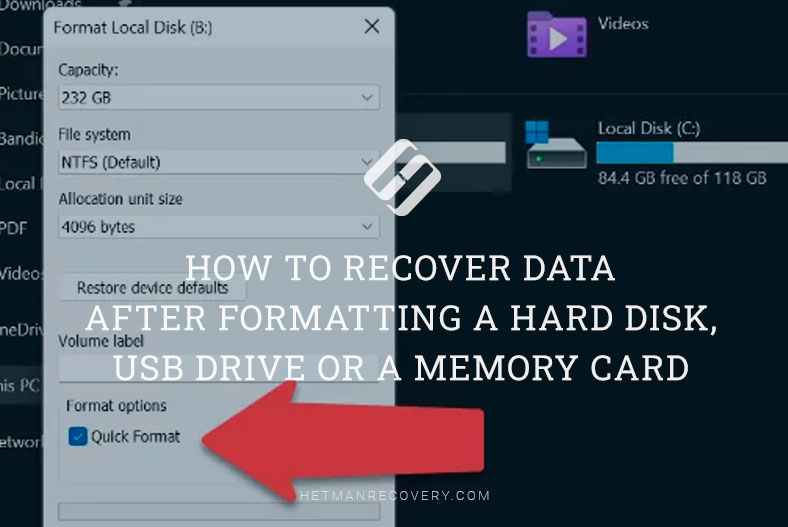
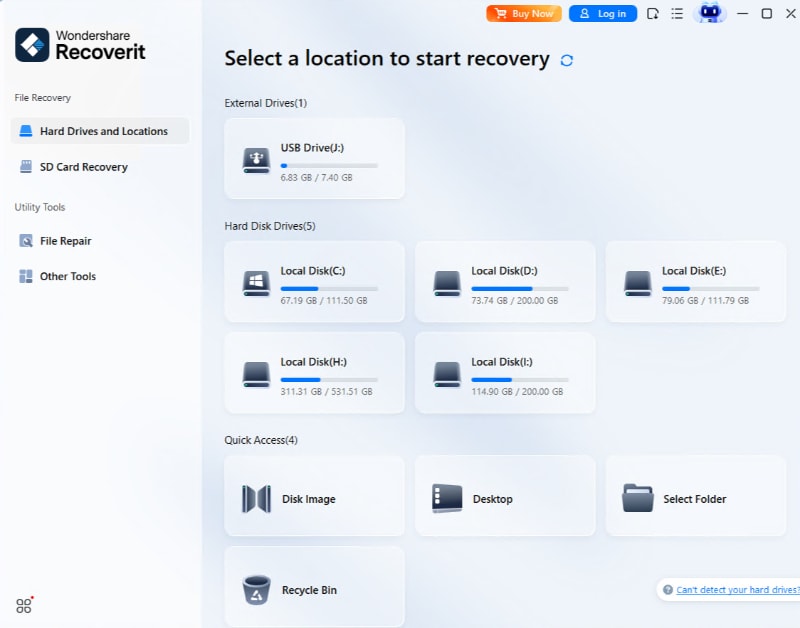
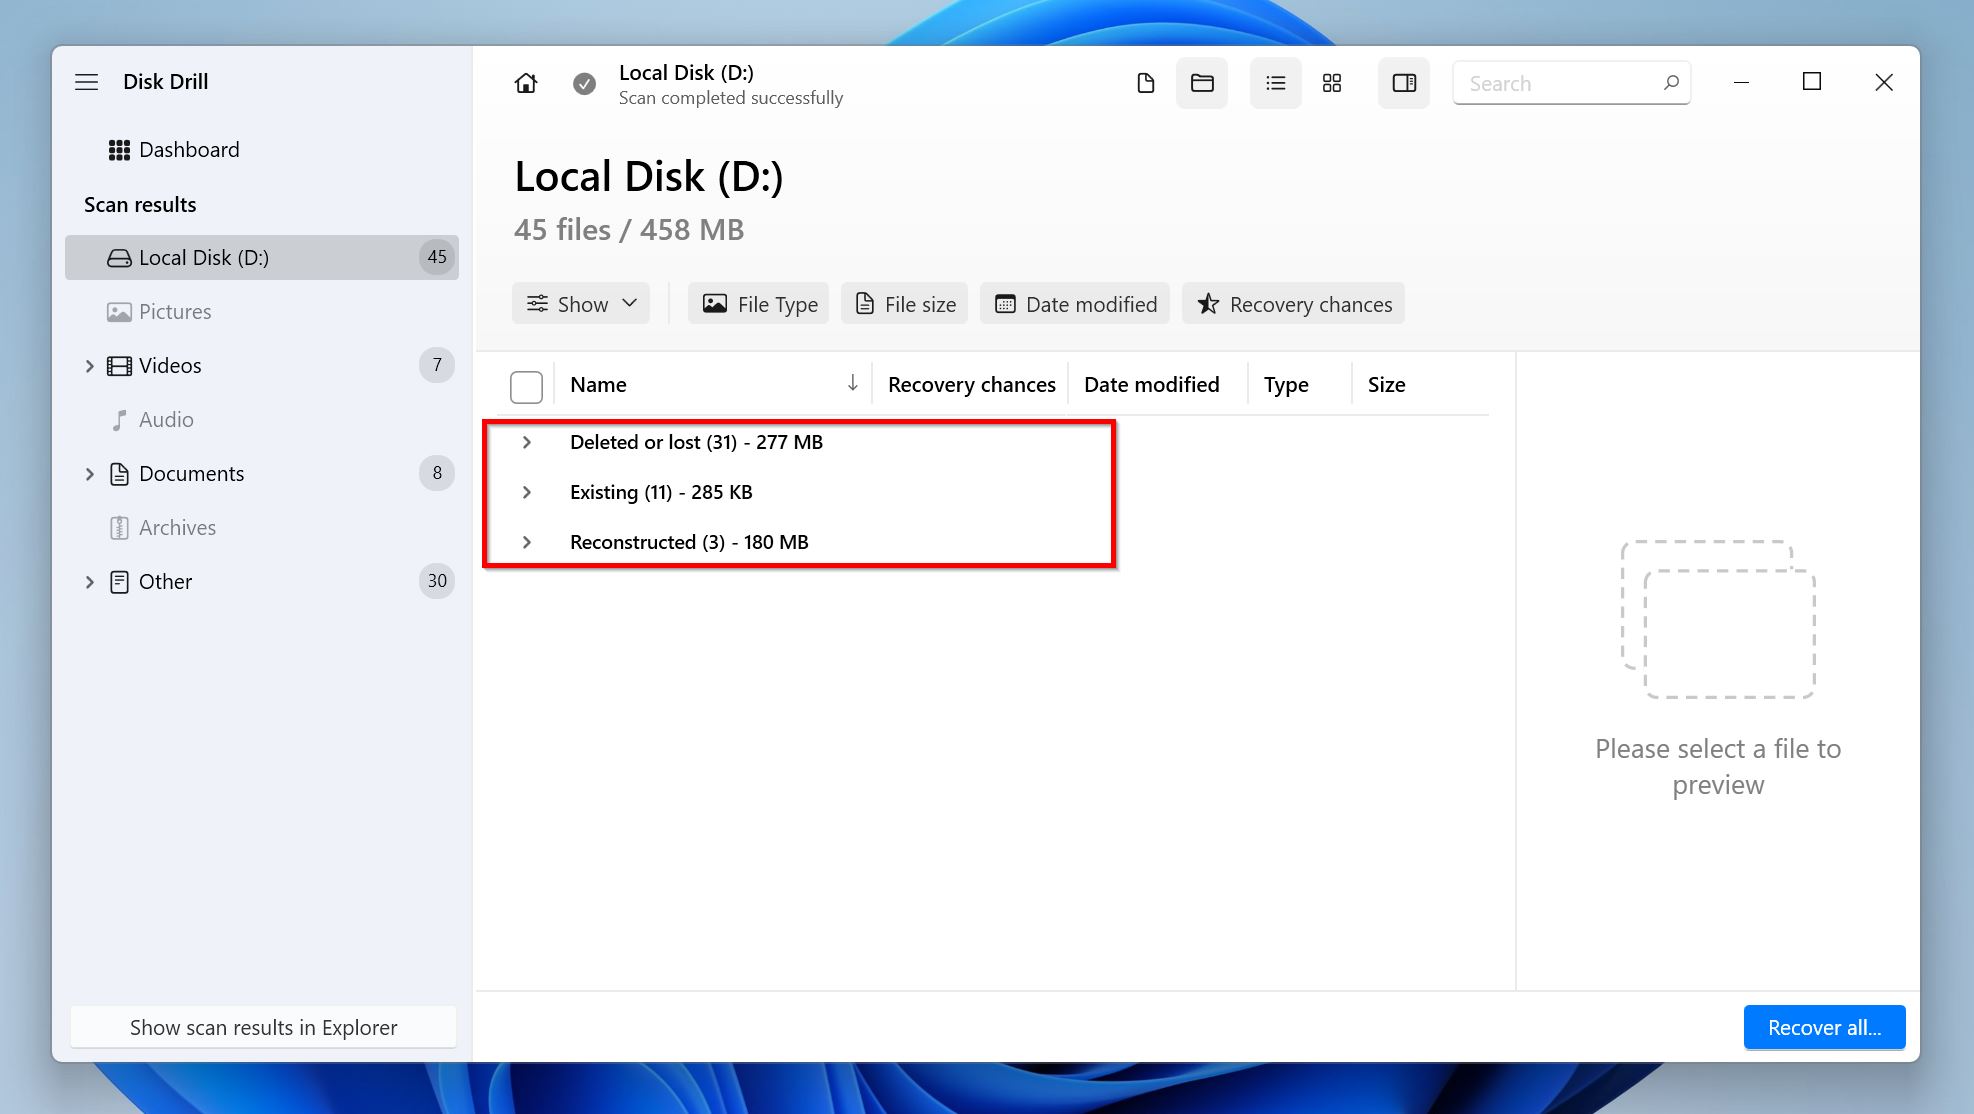
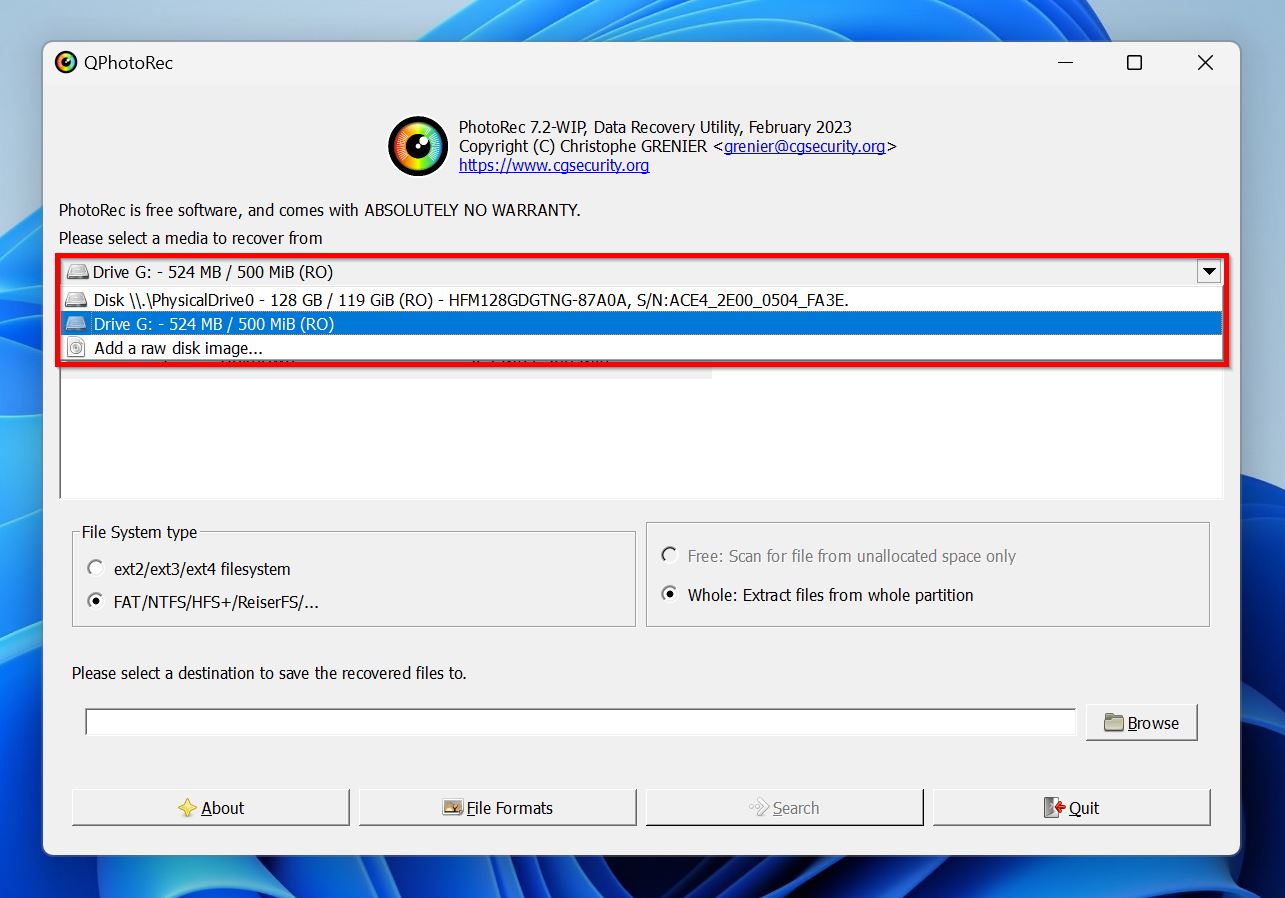
If your scenario in the table above still has a chance, the workflow is consistent across recovery tools: install the software onto a different drive than the one you’re recovering, so you don’t write new data onto the formatted volume, then scan, preview the results, and save recovered files to a third location, never back onto the source drive. If files come back damaged or incomplete, most tools offer a separate raw or signature-based scan mode that reconstructs files by their internal structure rather than the file system’s index; it’s worth a second pass before concluding the data is gone.
Is it safe to try recovery software myself before calling a lab? Yes, as long as you install and save results to a different drive, and the source drive shows no physical symptoms like clicking, overheating, or failing to be detected. If the drive is behaving oddly rather than simply reformatted, DIY attempts risk making a mechanical problem worse before a lab ever sees it.
Recovering from a backup first
Before spending time on software, check whether a backup already covers you. Windows File History and macOS Time Machine, if either was enabled before the format, keep versioned copies on a separate disk untouched by what happened to the formatted one. Cloud storage is worth checking even if you don’t remember syncing the specific folder: Dropbox keeps deleted files and prior versions for 30 days on Basic, Plus, and Family plans, 180 days on Professional, Standard, and Essentials plans, and 365 days on Advanced, Enterprise, and Education plans, so a file deleted or overwritten months ago on a paid tier may still be sitting in your account’s version history. Google Drive’s retention is shorter and fixed regardless of plan: trashed items are permanently removed 30 days after being trashed, so that window closes faster and is worth checking first if time has already passed.
Neither backup service restores what was never backed up in the first place; if the formatted drive was itself the backup destination, this section won’t help you, and the table above is where your odds actually live.
RAID, NAS, and multi-drive volumes
A formatted RAID array or NAS volume behaves differently from a single drive, and the biggest risk isn’t the format itself, it’s what happens next. Rebuilding a degraded or reformatted array writes new parity data across every member drive; a rebuild started on a misconfigured array can overwrite recoverable data faster and more completely than the original format did. If a NAS volume was formatted by mistake, stop any rebuild or repair process immediately and image each member drive individually before attempting anything else. Recovery at that point works on the individual drive images, not on the live array.
What if the formatted drive is part of a RAID array or a NAS? Power down the array and stop any automatic rebuild first. A RAID or NAS format is a multi-drive problem, and single-drive DIY tools generally can’t reconstruct the array’s parity and striping correctly. This is one of the clearer cases for going straight to a lab that handles array reconstruction.
When to stop DIY and call a professional
| Situation | Recommended path | Why |
|---|---|---|
| Quick format, backup confirmed | Restore from backup | Fastest option, no recovery risk |
| Quick format, no backup, HDD | DIY software | Odds favor you, low cost |
| TRIM-cleared SSD, no backup | Check cloud version history, then accept likely loss | Software can’t recover flash cells TRIM has already erased |
| Drive not detected or clicking | Professional lab | Physical fault needs cleanroom tools, not software |
| RAID/NAS after a rebuild attempt | Professional lab immediately | Parity errors compound with further DIY attempts |
| Data needed for litigation, audit, or employment dispute | Professional lab with forensic imaging | Preserves the unbroken record needed for admissibility |
Published pricing from one professional recovery provider, Rossmann Repair Group, puts logical recoveries, the category a formatted drive without physical damage falls into, at $250 and up, with firmware faults running $600 to $900 and a head swap for a clicking drive running $1,200-$1,500; RAID work is quoted after evaluation rather than listed as a flat rate, since drive count and array condition change the labor involved. Their published NAND-swap procedure requires a 50% deposit up front, and donor drives for common SSD controllers run $40 to $100, since the parts are consumed during the attempt rather than reused.
Preserving chain of custody for professional or legal use
If this data might need to hold up in a legal, audit, or employment dispute, stop every DIY step immediately, including running recovery software. Practices built on NIST SP 800-86 call for imaging the drive with a write blocker and verifying the image’s hash before any analysis begins. A single software scan on the original drive can alter timestamps in ways that break the documented handling record a later dispute may require.
Do I need to worry about chain of custody if this data might be used professionally or legally? Yes, if there’s any chance the recovered files will need to be verified as unaltered later, in litigation, an audit, or a workplace investigation. Tell the lab this up front and ask specifically for forensic imaging with a write blocker and hash verification; standard consumer recovery skips both steps.
Common mistakes that reduce your odds
- Reformatting again “to fix it”: each additional format is another write pass over the same sectors, and it doesn’t undo the first one.
- Running chkdsk or a repair tool on the target drive: disk-checking utilities write to the drive to fix what they find, which can overwrite recoverable data before you’ve attempted recovery.
- Installing recovery software onto the formatted drive itself: the installation writes files onto the exact sectors you’re trying to recover from.
- Power-cycling a failing SSD repeatedly: each boot can trigger further garbage collection and TRIM passes on a drive that was already TRIM-active, reducing what’s left to recover.
Preventing this next time
A daily backup for active work files, weekly for photos and archives, and real-time cloud sync for anything you’re editing that day covers most accidental-format scenarios before they become a recovery problem at all. A restore that’s never been tested is a backup you’re guessing about.