
Before you start
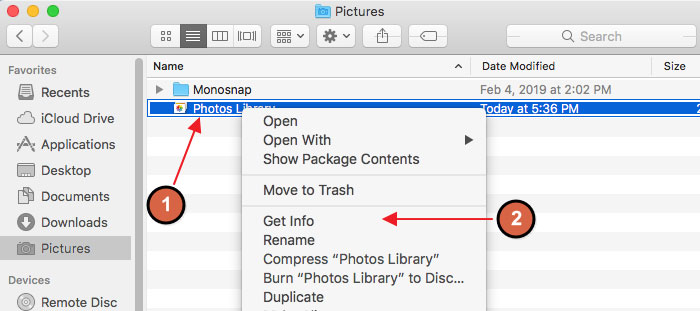
Check three things before touching the Photos Library file. First, the drive’s format: select it in Finder, press Command-I, and read the format line. A drive labeled Windows (FAT32) or MS-DOS will fail on files inside the library package larger than 4GB, and Apple’s own Disk Utility documentation states a practical cutoff for that format at Windows volumes of 32GB or less; Apple’s guidance points to exFAT above that size. Second, free space: the destination needs at least as much free space as the library package occupies, checkable with Get Info on both. Third, iCloud Photos sync state: open Photos, go to Settings, then iCloud, and confirm downloads have finished, not just started, before quitting Photos to begin the copy.
One rule sits above all three: never use a Time Machine drive for a Photos library. Photos permissions and Time Machine’s own permissions structure conflict, a real risk Apple documents directly, not a hypothetical one.
| Format | Mac read/write behavior | Best use case |
|---|---|---|
| APFS | Full read and write on macOS 10.13 and later | A Mac-only drive, best performance |
| Mac OS Extended (HFS+) | Full read and write on macOS | A Mac-only drive on an older Mac |
| exFAT | Full read and write on Mac and Windows, no 4GB file cap | A drive that moves between a Mac and a PC |
| FAT32 | Full read and write on Mac and Windows, single files capped at 4GB | Old flash drives needing wide device compatibility, not a full library |
| NTFS | Mac reads it but can’t write without added driver software | A drive a Windows PC formatted, until reformatted |
A drive already in exFAT skips the reformat step entirely. Only FAT32 and NTFS need action first.
What if my external drive is formatted for Windows (NTFS)?macOS can read an NTFS drive but can’t write to it without added software, so a plain drag-and-drop copy fails or does nothing. Reformat to exFAT for a drive that needs to work on both a Mac and a PC, or APFS for a Mac-only drive, in Disk Utility before copying anything.
Choose your method
Two variables decide the method: whether the whole library needs to stay intact, and whether the drive will carry edits still attached to their album structure.
Moving the whole Photos Library package preserves albums, face groups, keywords, and every edit exactly as they exist in the app, because the package is the working database, not a set of exported files. This suits continuing to work in Photos from the new location, or a complete backup.
Exporting selected photos or albums through File – Export produces plain image files. Depending on the export option, edits can flatten permanently into the exported file, and album structure and keywords generally don’t carry over unless exported by album folder. This suits handing off a finished folder of images without needing a working library.
A drive such as the SanDisk Extreme Portable SSD carries a manufacturer rating of up to 1050MB/s read and 1000MB/s write over USB-C, enough to move a multi-gigabyte library in well under a minute of raw transfer time; real-world speed still depends on the Mac’s own port and cable, so treat the spec sheet figure as a ceiling.
Move the whole Photos Library
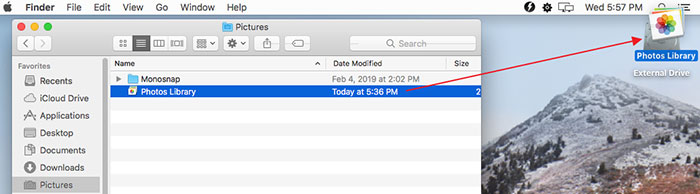
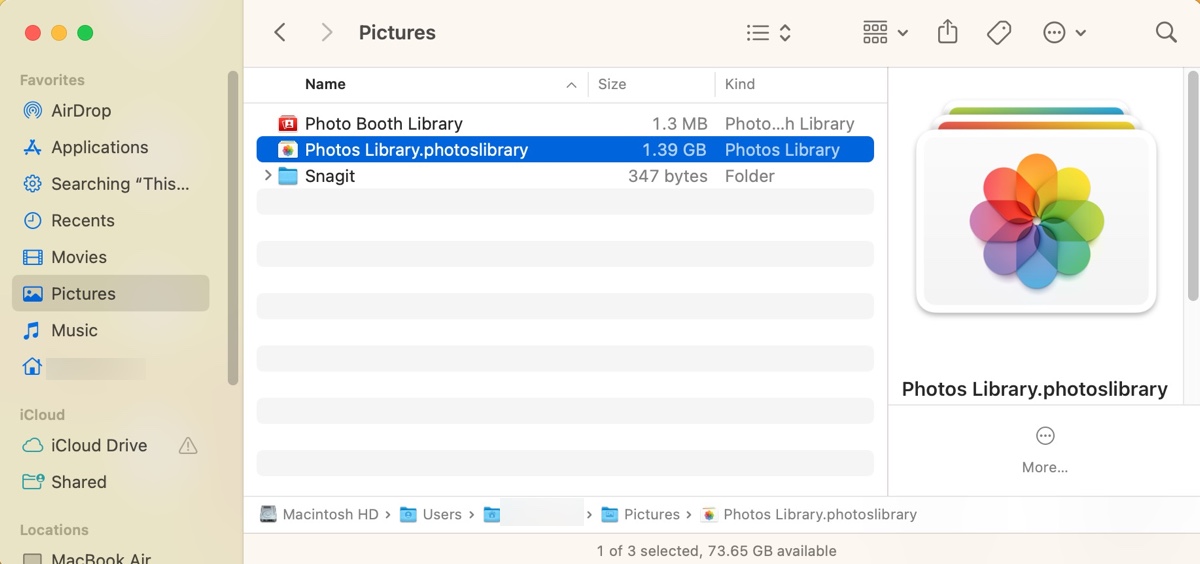
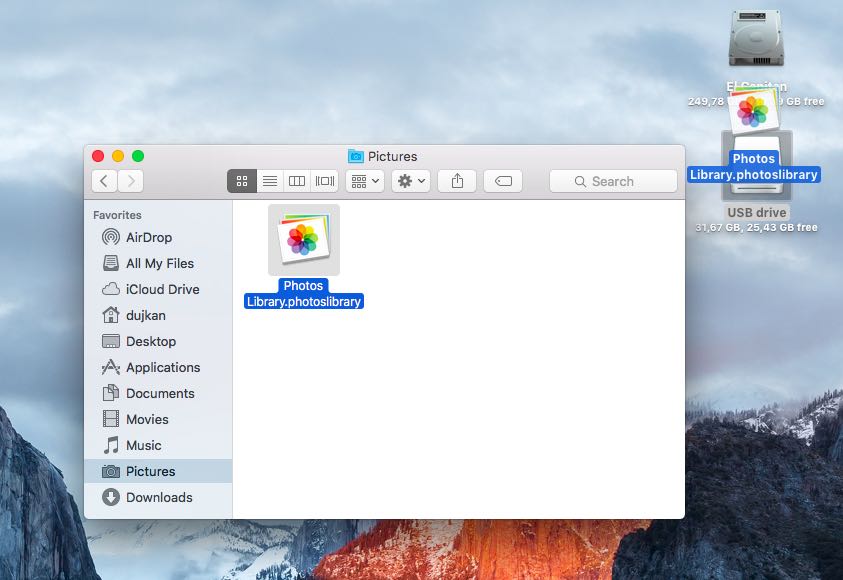
Quit Photos completely first; a library copied while Photos has it open risks corruption. In Finder, go to the home folder (Go, then Home), open Pictures, and locate Photos Library.photoslibrary. Drag it onto the external drive’s open window, not its icon in the sidebar; a sidebar drop can target the wrong folder on a drive with more than one partition. Watch Finder’s progress bar until it finishes; the file appears in the destination immediately and fills in gradually, so its presence alone confirms nothing.
Does dragging the Photos Library move it or copy it?It copies. Finder drag-and-drop between two volumes always duplicates the file; the original stays in Pictures until deleted separately. Verify the copy opens correctly before deleting anything, covered below.
Export selected photos or albums
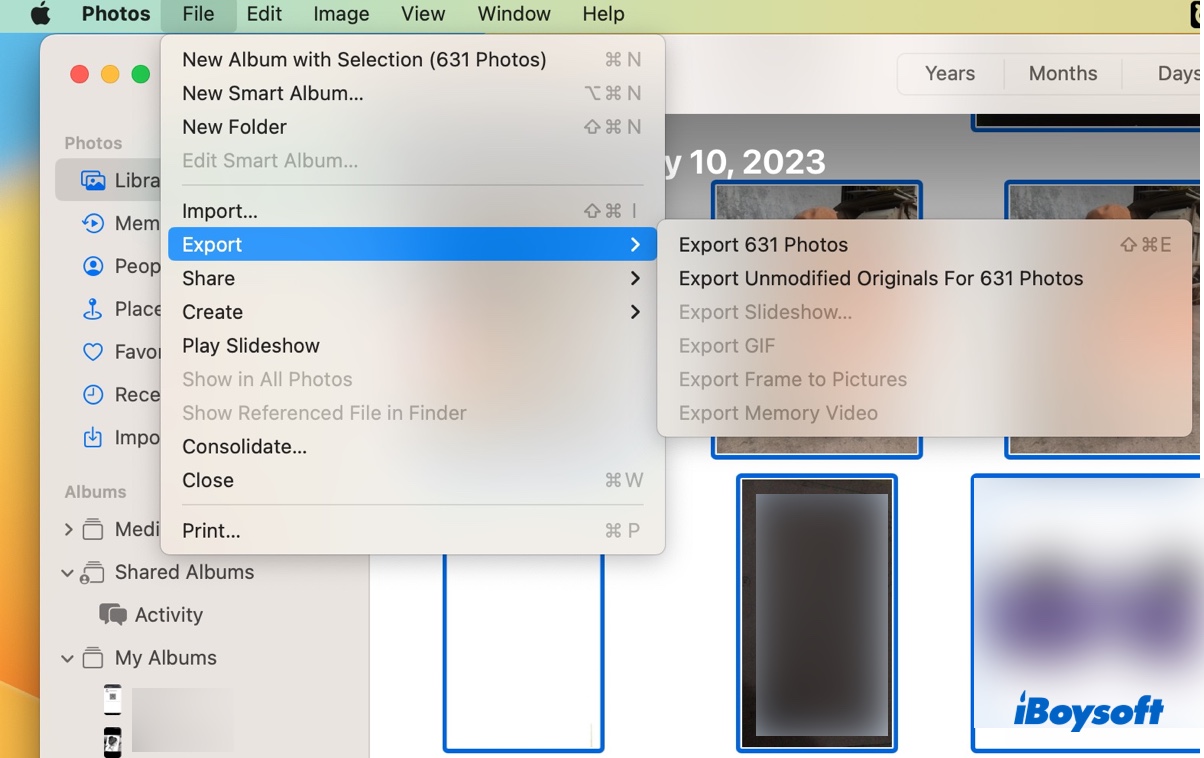
Open Photos, select the images or an album, then choose File, Export, Export Photos (or Export Unmodified Original to keep files, not JPEGs with baked-in edits). Pick the destination folder on the external drive directly inside the export dialog, skipping a second drag step. For an album worth keeping as its own folder, export it separately from other albums; a combined multi-album export flattens everything into one folder.
Set the external copy as your library and reconnect iCloud
Hold Option and double-click Photos; a picker lists every library Photos has seen, including the one just copied. Select it and click Choose Library. To make this copy sync with iCloud Photos and Shared Albums, designate it the System Photo Library from Photos Settings, General tab; Apple’s Photos documentation states that iCloud Photos and Shared Albums follow only the System Photo Library. Give iCloud a few minutes to reconcile after switching; a freshly designated library often shows a temporary sync indicator while it confirms state with iCloud.
Can I still use iCloud Photos after moving my library to an external drive?Yes, as long as the moved library is the System Photo Library and the drive stays connected and powered while Photos is open. If Photos can’t find the drive at launch, syncing pauses until the drive reconnects; Photos doesn’t switch libraries on its own.
Verify before you delete anything
Open Photos Settings, General, and note the photo count, then compare it against the original library’s count, checked the same way before the move. A mismatch of even a handful of items is worth investigating before deleting anything. Spot-check a few recently added photos and a few large video files specifically, since those are the items most likely to be caught mid-download if iCloud Photos was still syncing when the copy started. Only once the count matches and the spot-checked files open cleanly should the original leave Pictures, and moving it to the Trash first, rather than deleting it outright, leaves a short buffer if something surfaces later.
How do I know the transfer actually copied everything?Match the photo count in Photos Settings, General, between the original and the copy, then open a couple of the largest video files and check their file size against the original in Get Info. A matching count plus matching file sizes on the largest items catches an incomplete iCloud download that a simple open-and-glance check would miss.
If the transfer fails or is interrupted
| Symptom or error | Likely cause | Fix |
|---|---|---|
| Error code -36 during the copy | A permissions conflict, or a damaged file caught mid-copy | Confirm Ignore ownership on this volume is checked (Get Info on the drive), then retry with a fresh copy instead of resuming |
| “File is too large for the destination format” | The drive is FAT32 and a database file inside the library exceeds 4GB | Reformat to exFAT or APFS, then copy again |
| “An item with the same name already exists” | A same-named file already sits at the destination, common when a library was copied there before | Rename or remove the old copy, then drag the new one and recheck the photo count |
| Copy stopped partway (drive slept, unplugged, app force-quit) | An interrupted write left a partial .photoslibrary package | Delete the partial copy entirely and start fresh; a partial package can’t be safely resumed or opened |
| Library opens but recent items are missing | iCloud Photos was still downloading originals when the copy started | Reconnect to iCloud, let downloads finish (Photos Settings, iCloud), then repeat the copy |
The interrupted-copy and iCloud-timing rows above are the two failure points most transfer instructions skip, and they produce the specific failure mode that’s hardest to notice: a library that opens fine but is quietly incomplete.
Is it safe to unplug the drive mid-transfer and finish later?No. Unplugging mid-write leaves a partial .photoslibrary package Photos can’t reliably open or repair. Let the copy finish, or if it’s interrupted, delete the partial copy and start over.
Common mistakes to avoid
- Assuming a new drive is fine because it’s new. Many drives ship FAT32 or exFAT by default for out-of-box compatibility with older devices, not because it suits a Mac photo library.
- Starting the copy while iCloud Photos is still downloading. The copy finishes before the download does, and the result looks complete until specific items turn out missing.
- Dragging onto the sidebar icon instead of the drive’s window. A partitioned drive can silently receive the copy in the wrong location.
- Ignoring a drive health warning before a large copy. Disk Utility’s First Aid, run before the transfer rather than after a failure, catches some problems early enough to switch drives instead of losing a copy midway.
When to stop and get professional help
Stop attempting further copies or consumer recovery software if any of these apply: the drive makes clicking, grinding, or repeated spin-up noises; the drive doesn’t mount in Disk Utility, not just in Finder; Disk Utility’s First Aid fails to repair the volume; or a recovery tool’s scan repeatedly stalls or crashes on the same drive.
A professional service differs from consumer software mainly on physically damaged drives: cleanroom disassembly for head or platter damage, and chip-level extraction for some SSD failures, neither achievable through software alone.
Keep it from happening again
Format a new external drive correctly before it ever holds anything important. Checking the format label once in Finder, the day the drive arrives, is far less disruptive than reformatting after a failed copy has already happened.